The Ultimate Guide to Perfect Teriyaki Chicken at Home
Have you ever wondered why restaurant-style Teriyaki Chicken tastes so much better than takeout—yet seems so simple to recreate? The secret lies in mastering the balance of sweet, savory, and umami flavors that define this beloved Japanese dish. By preparing it at home, you control the quality of ingredients, adjust sweetness to your preference, and save money while impressing your family or guests. In this guide, we’ll dive deep into making an authentic Teriyaki Chicken that rivals any restaurant version, complete with a homemade Teriyaki Sauce that elevates every bite.
—
Ingredients & Kitchen Tools
For the Chicken & Marinade
– 4 boneless, skinless chicken thighs (or breasts—thighs stay juicier)
– 1/2 cup soy sauce (use low-sodium for less saltiness)
– 1/4 cup mirin (Japanese sweet rice wine; substitute with 2 tbsp honey + 2 tbsp sake or dry white wine)
– 2 tbsp brown sugar (or coconut sugar for refined-sugar-free option)
– 1 tbsp fresh ginger, grated (adds warmth and zing)
– 2 garlic cloves, minced (fresh is crispier than jarred)
– 1 tbsp rice vinegar (balances sweetness; optional but recommended)
– 1 tbsp cornstarch + 2 tbsp water (for thickening the sauce slurry)
Kitchen Tools
– Non-stick skillet or wok (even heat distribution is key)
– Sharp chef’s knife (for clean cuts)
– Cutting board (preferably wooden to avoid sliding)
– Small bowl (for mixing sauce)
– Spatula + tongs (for flipping without tearing)
– Measuring spoons & cups
– Paper towels (to pat chicken dry for better sear)
Optional Substitutions
– Gluten-free: Use tamari or coconut aminos instead of soy sauce.
– Low-carb: Replace brown sugar with monk fruit sweetener or erythritol.
– Vegan option: Swap chicken for extra-firm tofu or tempeh—adjust cooking time.
—
Prep Time & Cooking Schedule
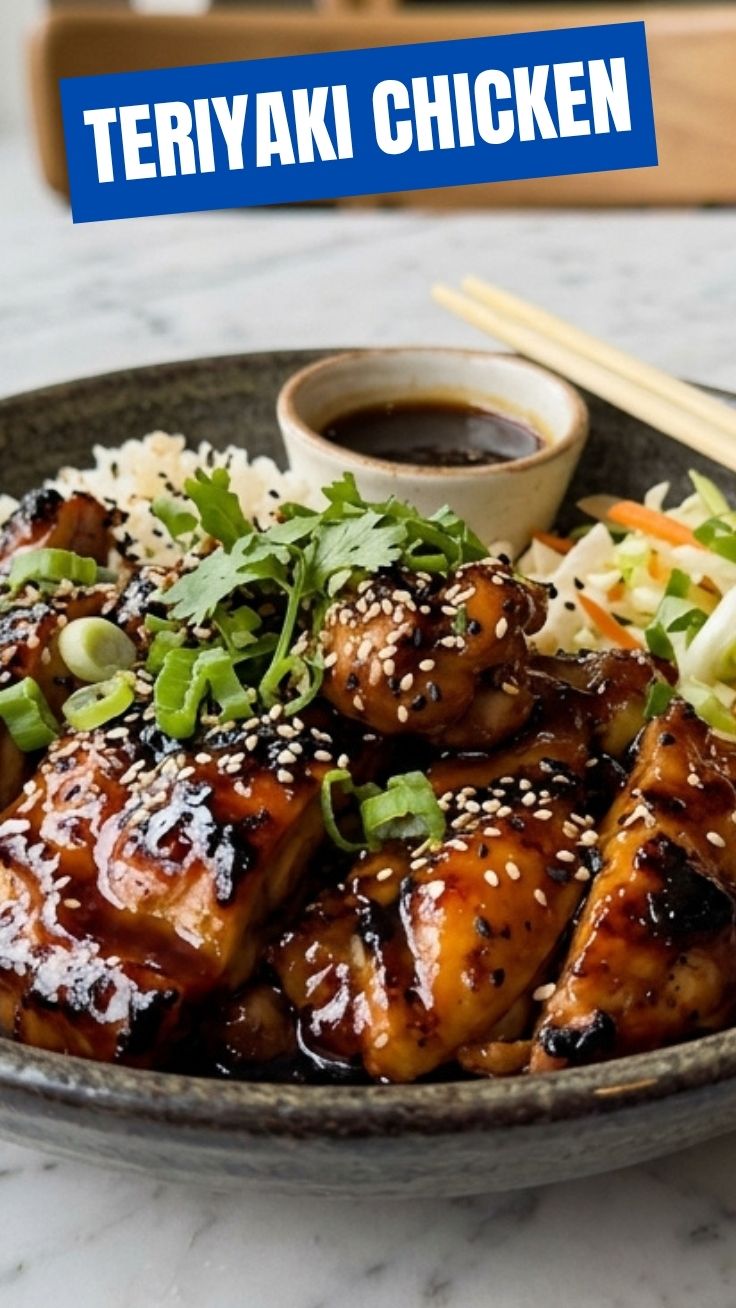
– Prep Time: 15 minutes (including grating ginger, mincing garlic, and measuring liquids)
– Marinating Time: 30 minutes (minimum; up to 4 hours for deeper flavor—but not overnight, as soy sauce can make the texture mushy)
– Cook Time: 12–15 minutes (total—sear each side for 4–5 minutes, then glaze for 2–3 minutes)
– Resting Time: 5 minutes (allows juices to redistribute, preventing dry chicken)
Planning Tip: Start the marinade first, then prep other meal components like steamed rice or stir-fried veggies. For busy weeknights, marinate in the morning and refrigerate—just take it out 15 minutes before cooking to bring to room temperature.
—
Step-by-Step Instructions
1. Prepare the Chicken: Pat the chicken thighs dry with paper towels—this ensures a golden, crispy crust. Season lightly with salt and pepper.
2. Make the Sauce: In a small bowl, whisk together soy sauce, mirin, brown sugar, grated ginger, minced garlic, and rice vinegar. Set aside half of this mixture (for later glazing). Reserve the other half for marinating.
3. Marinate: Place chicken in a shallow dish, pour the first half of the sauce over it, and turn to coat. Cover and refrigerate for at least 30 minutes.
4. Sear the Chicken: Heat 1 tbsp vegetable oil in a large skillet over medium-high heat. Once shimmering, add chicken (shake off excess marinade) and cook undisturbed for 4–5 minutes per side until deep golden brown and internal temp reaches 165°F (74°C).
5. Create the Glaze: In the same skillet, pour in the reserved sauce half. Stir in the cornstarch slurry (cornstarch + water) and let it bubble for 2–3 minutes until thickened and glossy. Toss the cooked chicken back in, turning to coat evenly. The sauce should cling like a lacquer—add a splash of water if too thick.
6. Rest & Slice: Transfer chicken to a cutting board. Rest 5 minutes, then slice diagonally against the grain for maximum tenderness. Drizzle any remaining pan sauce on top.
Texture Cue: When the sauce coats the back of a spoon and drips slowly, it’s ready. If it’s too runny, simmer another minute. For this iconic Teriyaki Chicken, the balance of sticky glaze and juicy meat is everything—and a quality Teriyaki Sauce makes all the difference.
—
Nutritional Benefits & Advantages
– High Protein: Chicken thighs provide 25–30g protein per serving, aiding muscle repair and satiety.
– Low Carb (if adapted): Traditional version has ~15g carbs from sugar and mirin; using monk fruit and skipping cornstarch drops it to under 5g.
– Rich in Antioxidants: Ginger and garlic contain anti-inflammatory compounds that support immunity.
– Healthy Fats: Chicken thighs offer more monounsaturated fat than breasts, which can boost heart health when consumed in moderation.
– Dietary Flexibility: Easily made gluten-free, dairy-free, or keto—no major nutrient sacrifice.
—
Tips Variations & Cooking Advice
– Flavor Twists: Add 1 tsp chili flakes or sriracha for spicy Teriyaki Chicken. For citrusy notes, squeeze fresh orange juice into the sauce.
– Cooking Methods:
– Air Fryer: Cook at 375°F for 12–15 minutes, basting halfway.
– Grill: Brush with marinade and grill over medium heat, 5–6 minutes per side.
– Baked: Bake at 400°F for 25 minutes, then coat with sauce under broiler for 2 minutes.
– Portion Changes: Double the sauce recipe if serving over rice or vegetables—extra Teriyaki Sauce works beautifully as a drizzle for broccoli or edamame.
– Dietary Adaptations: Use coconut aminos for paleo, and arrowroot powder instead of cornstarch for Whole30 compliance.
—
Common Mistakes to Avoid
| Mistake | Solution |
|———|———-|
| Soggy skin | Always pat chicken dry before cooking. Excess moisture steams instead of sears. |
| Burnt garlic/ginger | Add aromatics after flipping the chicken, not before. Garlic burns quickly at high heat. |
| Sauce too thick or thin | Use cornstarch slurry gradually—start with half, then add more until desired consistency. |
| Dry chicken | Cook to exactly 165°F and rest 5 minutes. Overcooking (above 170°F) dries it out. |
| Weak flavor | Marinate at least 30 minutes. If time is tight, poke chicken with a fork for faster absorption. |
—
Storage & Meal Prep Tips
– Refrigeration: Store in an airtight container for up to 3 days. Keep sauce separate from chicken to prevent sogginess—combine only when reheating.
– Freezing: Cooked Teriyaki Chicken freezes well for 2 months. Wrap tightly in plastic wrap then foil. Thaw overnight in the fridge.
– Reheating: For crisp texture, reheat in a dry skillet over medium heat for 3–4 minutes, adding a splash of water or broth to revive the glaze. Microwave on 50% power in 30-second bursts (cover loosely).
– Meal Prep: Cook a double batch and portion into 4 servings with steamed rice and steamed broccoli. Reheat as needed for quick lunches.
—
Conclusion
Mastering homemade Teriyaki Chicken is a game-changer for your weeknight dinner rotation. By creating your own Teriyaki Sauce, you avoid preservatives and high-fructose corn syrup found in store-bought versions—and gain the freedom to tweak sweetness, saltiness, and spice to your exact palate. Whether you serve it over jasmine rice, tucked into lettuce wraps, or alongside a crisp cucumber salad, this recipe delivers restaurant-quality results in under 30 minutes. Try it tonight, snap a photo, and share your version on social media—we’d love to see how you make it your own!
—
FAQs
1. Can I use chicken breasts instead of thighs?
Yes, but reduce cooking time by 2–3 minutes per side and watch the internal temperature closely (165°F). Breasts dry out faster.
2. My sauce turned out too salty—how do I fix it?
Add 1–2 tbsp honey or brown sugar to balance the salt, or dilute with 2 tbsp water and simmer for 1 minute.
3. Can I make this dish gluten-free?
Absolutely. Substitute soy sauce with tamari or coconut aminos, and ensure your mirin is gluten-free (most are, but check labels).
4. How do I get a deeper caramelized crust on the chicken?
Don’t move the chicken during the first 4 minutes of searing—let it develop a golden crust. Also, use a mix of oil and butter for better browning.
5. Can I double the recipe for a crowd?
Yes, but cook in batches—overcrowding the pan lowers temperature and steams the chicken instead of searing it. Use two skillets if needed.
—
Ready to elevate your dinner game? Grab your skillet and let the sizzle begin!
Quick way to grow 4 Teriyaki Chicken recipes
Ingredients
Equipment
Method
- Cut chicken thighs into 1-inch pieces and marinate in teriyaki sauce for at least 15 minutes.
- While chicken marinates, prepare rice according to package instructions.
- Heat a large skillet over medium-high heat and cook marinated chicken until browned and cooked through, about 5-7 minutes.
- Divide the cooked chicken into four equal portions for each recipe.
- Serve one portion of chicken over rice and garnish with sesame seeds.
- In a separate pan, combine one portion of chicken with sriracha and red pepper flakes, cooking for 1-2 minutes to heat through, then serve with rice.
- In a pan, sauté grated ginger and minced garlic for 1 minute, then add one portion of chicken and cook for another 2-3 minutes, serving with rice.
- Combine one portion of chicken with pineapple chunks and pineapple juice in a pan, simmer for 3-5 minutes until sauce thickens slightly, and serve with rice.