Why You Need This Creamy, Dreamy Hummus in Your Life Right Now
Have you ever stood in the grocery aisle, staring at a dozen hummus containers, wondering why none of them taste as good as the one you had at that Mediterranean café last week? You’re not alone. Store-bought hummus is often loaded with preservatives, lacks that silky texture, and simply doesn’t deliver the bold, fresh flavor of the real thing. The secret to restaurant-quality dip isn’t a secret at all—it’s making Hummus (Homemade) from scratch in your own kitchen. Not only do you control every ingredient, but you also unlock a world of customization that no pre-packaged tub can match. Plus, mastering a classic Hummus Recipe is a skill that will serve you for years, from quick weeknight snacks to impressive dinner party appetizers. Let’s dive into the simple steps that transform humble chickpeas into a creamy, addictive masterpiece.
Ingredients & Kitchen Tools
For the Hummus Base:
– 1 can (15 oz) chickpeas (garbanzo beans) – Drained and rinsed. Use no-salt-added for better seasoning control.
– 1/3 cup tahini (sesame seed paste) – A non-negotiable for authentic flavor. If unavailable, substitute with 2 tbsp sesame oil + 3 tbsp plain yogurt.
– 3 tablespoons fresh lemon juice (about 1 large lemon) – Bottled lemon juice lacks brightness; use fresh for best results.
– 2–3 tablespoons ice-cold water – The secret to ultra-creamy texture.
– 2 tablespoons extra-virgin olive oil – For drizzling. Plus more for serving.
– 1 small garlic clove, minced – Start with half if you’re sensitive to raw garlic.
– 1/2 teaspoon salt – Adjust to taste.
– 1/4 teaspoon cumin (optional) – Adds warmth and earthiness.
Optional Add-Ins & Garnishes:
– Roasted red pepper, sun-dried tomatoes, or fresh herbs
– Smoked paprika, sumac, or za’atar for sprinkling
– Pine nuts (toasted) for crunch
Kitchen Tools:
– Food processor or high-speed blender – A food processor yields the best texture; blenders may require more liquid.
– Measuring spoons and cups
– Citrus juicer – Or use your hands.
– Rubber spatula – For scraping down sides.
– Small bowl – For mixing tahini and lemon juice before adding to processor.
Prep Time & Cooking Schedule
Total hands-on time: 10 minutes. No cooking required (unless you prefer dried chickpeas). Here’s your game plan:
– Active prep: 5 minutes – Juicing lemon, mincing garlic, measuring ingredients.
– Blending time: 5 minutes – With occasional pauses to scrape down sides.
– Resting time: 30 minutes–2 hours – Letting hummus sit in the fridge allows flavors to meld. Serve at room temperature for best consistency.
Pro tip: If using dried chickpeas, soak overnight and cook until tender (about 1 hour). But canned chickpeas are perfectly fine—just rinse them thoroughly to remove excess sodium.
Step-by-Step Instructions
1. Prepare the tahini base. In a small bowl, whisk together 1/3 cup tahini and 3 tablespoons lemon juice until the mixture becomes thick and pale. This step is critical—it “blooms” the tahini and eliminates bitterness. Let it sit for 5 minutes.
2. Process the base. Transfer the tahini-lemon mixture to your food processor. Add 1 minced garlic clove and 1/2 teaspoon salt. Pulse a few times to combine.
3. Add chickpeas. Add drained chickpeas (reserve 1–2 tablespoons for garnish). Process for 30 seconds.
4. Drizzle in water and oil. With the motor running, slowly add 2–3 tablespoons ice-cold water and 2 tablespoons olive oil through the chute. Let the machine run for 1 minute—scrape down sides halfway through.
5. Adjust texture and flavor. If the hummus is too thick, add another tablespoon of cold water. Taste and adjust salt, lemon, or cumin. For an extra-silky texture, blend for up to 3 minutes total. This is where your Hummus (Homemade) truly shines—the longer you blend, the creamier it gets. A great Hummus Recipe hinges on patience here.
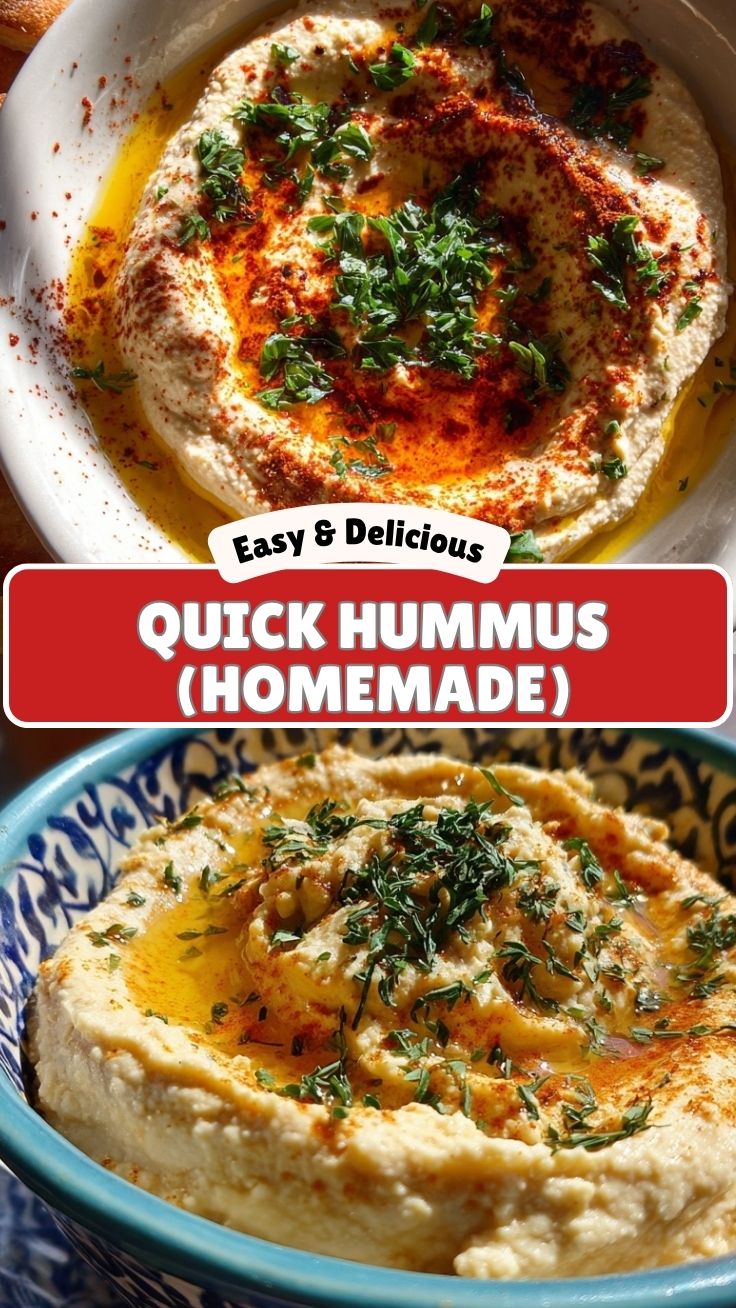
6. Serve or store. Transfer to a bowl, create a shallow well with a spoon, drizzle with olive oil, and sprinkle paprika, parsley, or pine nuts. Serve with warm pita, crudités, or use as a sandwich spread.
Temperature control: Use ice-cold water—it helps emulsify the tahini and chickpeas, preventing graininess.
Texture cue: If your hummus looks thick but slightly gritty, add 1 tablespoon of ice water at a time while blending until it becomes fluffy and smooth.
Seasoning adjustment: Taste after initial blending; raw garlic intensity mellows as it rests.
Nutritional Benefits & Advantages
This homemade hummus is a nutritional powerhouse:
– High in plant-based protein (7g per 1/4 cup) from chickpeas and tahini.
– Rich in heart-healthy fats from olive oil and sesame seeds.
– Excellent source of fiber (6g per serving) for digestive health.
– Low in sodium compared to store-bought versions (you control the salt).
– Naturally gluten-free, dairy-free, and vegan. Tahini adds calcium, and chickpeas provide iron and B vitamins.
Tips Variations & Cooking Advice
– Flavor twists: Add 1/2 cup roasted red pepper, a handful of fresh basil, or 1 teaspoon harissa.
– Spice it up: Blend in 1/2 teaspoon smoked paprika or chipotle powder.
– Herb-infused: Add 1/4 cup fresh parsley or cilantro before blending.
– Dairy-free? This recipe is already dairy-free! Just ensure your tahini is pure sesame paste.
– Gluten-free? Yes—hummus is naturally gluten-free. Avoid adding wheat-based pita for serving.
– Oil-free option: Omit olive oil and use 3 tablespoons aquafaba (chickpea liquid) plus water.
– Portion hacks: Double the recipe for meal prep—hummus keeps beautifully for days.
Common Mistakes to Avoid
– Skipping the tahini-lemon rest: This prevents bitter, gritty hummus.
– Over-blending without liquid: This creates a thick, pasty mess. Always add ice water gradually.
– Using warm chickpeas: Canned chickpeas straight from the can produce a heavier texture. Rinse with cold water or boil for 2–3 minutes to warm them slightly—it helps blending.
– Adding garlic too early: Raw garlic can be overpowering. Let hummus rest 30 minutes after blending to mellow.
– Not scraping down bowl: This leads to uneven texture. Pause and scrape 2–3 times during blending.
Storage & Meal Prep Tips
– Refrigeration: Store in an airtight container with a thin layer of olive oil on top. Keeps fresh for 5–7 days.
– Freezing: Freeze in small portions (ice cube trays work) for up to 3 months. Thaw overnight in fridge. After thawing, blend with 1–2 teaspoons water to restore creaminess.
– Reheating: Do not microwave—this dries out hummus. Let it sit at room temperature for 30 minutes, then stir in a splash of water or olive oil.
– Meal prep suggestion: Make a double batch on Sunday for weekday snacks, sandwich spreads, or quick pasta sauces (just add lemon juice and thin with pasta water).
Conclusion
Mastering this creamy, zesty dip proves that store-bought versions simply cannot compete with the fresh, customizable flavor of Hummus (Homemade) . Whether you’re entertaining guests or simply elevating your work-from-home lunches, this Hummus Recipe gives you complete control over texture, seasoning, and health benefits. The magic lies in that flawless emulsification of tahini, lemon, and ice-cold water—a technique that transforms humble chickpeas into something truly luxurious. I encourage you to try this recipe this week, experiment with your favorite add-ins, and share your results in the comments below. Don’t forget to explore our related recipes for Mediterranean bowls, roasted vegetable platters, and gluten-free flatbreads to complete your spread.
FAQs
1. Can I use dried chickpeas instead of canned?
Yes! Soak 1/2 cup dried chickpeas overnight, drain, and boil until tender (1–1.5 hours). Reserve cooking liquid for blending. This yields even creamier hummus.
2. Why is my hummus bitter?
Bitter hummus typically comes from over-toasted or low-quality tahini. Try adding 1/4 teaspoon baking soda while cooking chickpeas (with dried) or 1 tablespoon maple syrup/honey to balance bitterness.
3. How do I thin out hummus without losing flavor?
Use ice-cold water, a splash of lemon juice, or aquafaba (chickpea water). Add 1 tablespoon at a time while blending.
4. Can I make hummus without a food processor?
Absolutely! Mash chickpeas with a fork or potato masher, then whisk vigorously with tahini, lemon juice, and oil. The texture will be chunkier but still delicious.
5. Why does my hummus turn out thick and pasty?
This happens when you don’t use enough liquid. Always add ice water gradually while blending, and don’t skip the tahini-lemon rest step. If too thick, blend in 1–2 tbsp water after resting.
Quick way to grow your Hummus (Homemade) garden
Ingredients
Equipment
Method
- Combine chickpeas, tahini, lemon juice, garlic, olive oil, salt, and cumin in a food processor.
- Process until smooth, adding water gradually until desired consistency is reached.
- Spread the prepared hummus into a shallow dish or bowl, creating a smooth surface.
- Arrange the cherry tomatoes, cucumber, and bell pepper over the hummus like a garden.
- Garnish with fresh parsley and a sprinkle of paprika for color and flavor.