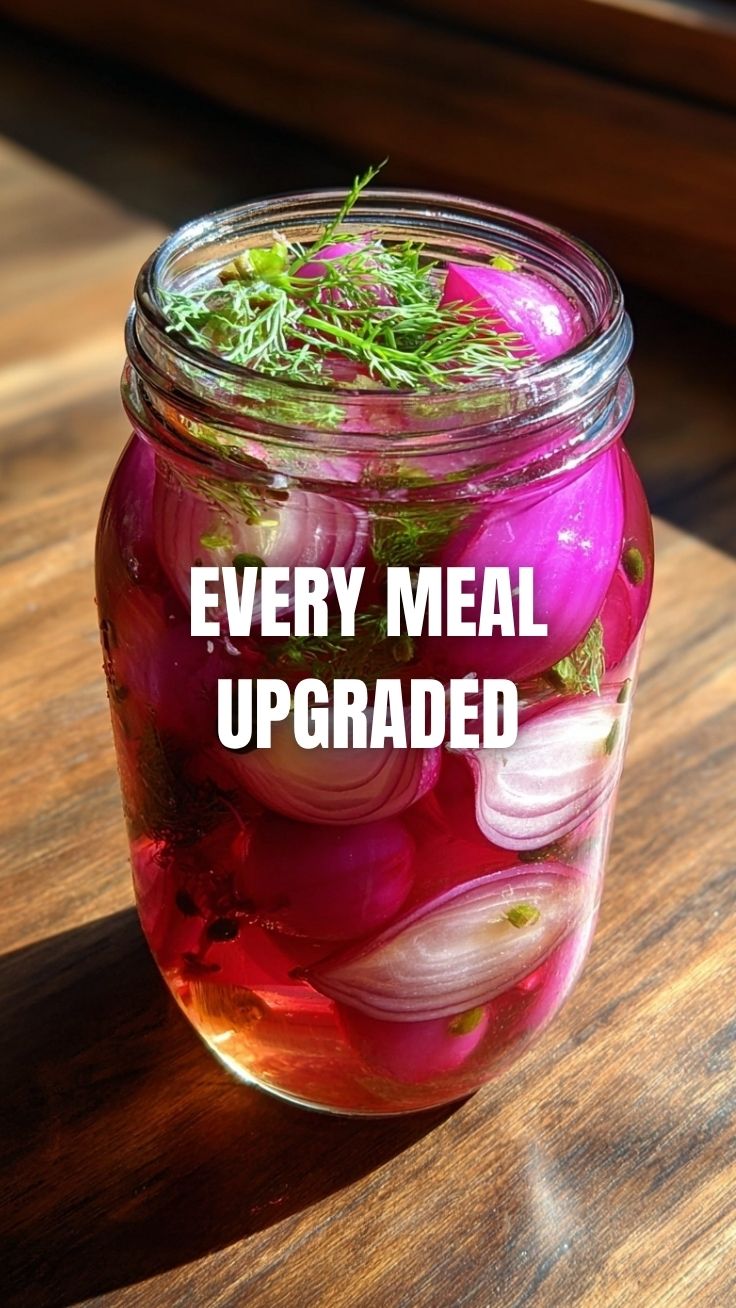
The Secret to Perfectly Tangy Pickled Red Onions (Ready in 20 Minutes)
Have you ever taken a bite of a taco or a grain bowl and wondered what makes that pop of flavor? It’s often the humble pickled red onions—a simple, vibrant condiment that transforms any dish from bland to brilliant. Making them at home is not only cost-effective but also lets you control the tanginess, sweetness, and crunch. Plus, you avoid the preservatives found in store-bought versions. In this guide, you’ll learn exactly how to craft the most flavorful batch using a foolproof pickling brine that balances acidity and sweetness perfectly.
—
Ingredients & Kitchen Tools
Ingredients
– 1 large red onion – Thinly sliced (mandoline recommended for uniform thickness).
– 1 cup apple cider vinegar – Delivers mild, fruity acidity; white vinegar works for a sharper taste.
– 1 cup water – Helps dilute the vinegar without over-acidifying.
– 2 tablespoons granulated sugar – Balances sourness; honey or maple syrup are good substitutes.
– 1½ teaspoons kosher salt – Enhances flavor; use sea salt or pickling salt (avoid iodized salt to prevent cloudiness).
– Optional flavor boosters – 1 clove garlic (smashed), ½ teaspoon black peppercorns, a pinch of red pepper flakes, or fresh dill.
Kitchen Tools
– Cutting board and sharp knife (or mandoline)
– Medium saucepan
– Glass jar or airtight container (16 oz / 500 ml)
– Small whisk or spoon for stirring
– Measuring cups and spoons
– Tongs or fork to pack onions
Substitutions
– Vinegar: White wine, rice wine, or red wine vinegar each provide a unique profile.
– Sweetener: Brown sugar, agave, or stevia (adjust quantity to taste).
– Salt: Pink Himalayan or flaky sea salt; avoid table salt with anti-caking agents.
—
Prep Time & Cooking Schedule
– Prep time: 10 minutes (slicing onion and measuring ingredients)
– Cooking time: 5 minutes (heating brine)
– Cooling time: 10–15 minutes (before refrigerating)
– Total active time: ~20 minutes
– Minimum marinating time: 30 minutes (for quick use), but best after 2–4 hours. Fully developed flavor after 24 hours.
Plan ahead if serving for dinner: start at least 1 hour before serving. The onions become milder and sweeter with longer rest.
—
Step-by-Step Instructions
1. Prepare the onion – Peel the red onion and slice it into thin rings or half-moons (about ⅛-inch thick). A mandoline ensures even thickness for consistent pickling. Place slices in your clean jar or a heatproof bowl.
2. Make the pickling brine – In a medium saucepan, combine 1 cup apple cider vinegar, 1 cup water, 2 tablespoons sugar, and 1½ teaspoons salt. Add any optional flavorings (garlic, peppercorns, etc.). Bring to a gentle boil over medium-high heat, stirring until sugar and salt dissolve completely. Remove from heat immediately.
3. Pour and cool – Carefully pour the hot pickling brine over the onion slices in the jar. Use a spoon or tongs to press onions down so they’re fully submerged. Let the jar cool uncovered at room temperature for 10–15 minutes.
4. Seal and refrigerate – Once cool, cover the jar tightly and refrigerate. For quick pickled red onions, they’ll be ready in 30 minutes, but the flavor deepens after a few hours. Shake or stir occasionally if you want more even distribution of spices.
Pro tips:
– For crunchier onions, skip boiling the brine and simply stir ingredients together cold (though they’ll take longer to pickle).
– Taste the brine before pouring—it should be tangy with a noticeable sweet-salt balance. Adjust sugar or salt if needed.
– If using a metal bowl, line it with plastic wrap to avoid a metallic taste.
—
Nutritional Benefits & Advantages
Red onions are rich in anthocyanins (antioxidants that give them their color) and quercetin, which supports heart health and reduces inflammation. The vinegar-based pickling brine is low in calories and may aid digestion by promoting gut-friendly bacteria (when using raw apple cider vinegar). A typical serving (2 tablespoons) contains only about 5–10 calories, negligible fat, and a small amount of natural sugars. Plus, making them at home eliminates added preservatives and excess sodium found in many commercial versions.
—
Tips Variations & Cooking Advice
– Flavor variations – Swap apple cider vinegar for red wine vinegar and add a cinnamon stick for a warmer profile. Or use rice vinegar with a splash of mirin for a Japanese twist.
– Spice level – Add sliced jalapeño or serrano pepper for heat; crush red pepper flakes for a milder kick.
– Dietary adaptations – This recipe is naturally gluten-free, dairy-free, and vegan. For low-sodium diets, reduce salt to 1 teaspoon or use a salt substitute.
– Quick method – If you’re in a rush, microwave the brine (30–45 seconds) instead of boiling, then pour over onions.
– Textural tip – Massage the onions gently before adding brine to soften them slightly for quicker pickling.
—
Common Mistakes to Avoid
| Mistake | Solution |
|———|———-|
| Slicing onions too thick | Use a mandoline or aim for ⅛-inch max; thick slices won’t absorb brine evenly. |
| Overheating the brine | Boiling too long can evaporate vinegar; remove from heat as soon as sugar and salt dissolve. |
| Not fully submerging onions | Press onions down with a clean spoon or weight; exposed pieces will discolor and spoil faster. |
| Using iodized salt | Can cause cloudy brine and metallic taste; stick with kosher or pickling salt. |
| Skipping the cooling step | Hot brine + cold jar can crack glass. Let it cool to room temperature before sealing. |
—
Storage & Meal Prep Tips
– Refrigeration – Store in an airtight glass jar for up to 3–4 weeks. The onions will soften over time but remain safe to eat.
– Freezing – Not recommended, as texture becomes mushy after thawing.
– Reheating – Pickled red onions are served cold or at room temperature. If adding to a hot dish, scatter them on top just before serving.
– Meal prep – Make a double batch at the start of the week to top tacos, salads, bowls, or sandwiches. Strain leftover brine to reuse for the next batch (add fresh vinegar and water to balance).
—
Conclusion
Mastering pickled red onions at home is a game-changer—you get restaurant-quality tang in minutes, with total control over your pickling brine and flavors. Whether you’re spicing up a rice bowl, a burger, or a simple avocado toast, this vibrant condiment adds brightness and crunch. The best part? You can customize it endlessly. Give this recipe a try this week, share your creations on social media with #PickledPerfection, and explore our other quick pickles and spreads.
—
FAQs
1. Can I use white vinegar instead of apple cider vinegar?
Yes. White vinegar gives a sharper, more neutral acidity. You may want to increase sugar slightly (to 2½ tablespoons) to balance the bite.
2. How long do pickled red onions last in the fridge?
Properly stored in a sealed jar, they stay fresh for 3–4 weeks. Discard if you see mold, sliminess, or off-odors.
3. Why are my pickled red onions turning brown?
Exposure to air causes oxidation. Ensure onions are fully submerged in brine. Adding a splash of fresh lemon juice can help retain color.
4. Can I pickle onions without boiling the brine?
Absolutely. Simply mix cold vinegar, water, sugar, and salt until dissolved, then pour over onions. They’ll take 2–3 hours to become mildly pickled but remain crunchier.
5. What if my brine is too sour or too sweet?
Fix over-sourness by adding a pinch of sugar or a splash of water. Fix over-sweetness by adding a few drops of extra vinegar and a pinch of salt. Stir and taste.
Best way to grow your own Pickled Red Onions in just 5 days
Ingredients
Equipment
Method
- Thinly slice the red onions using a mandoline or sharp knife and pack them into clean jars.
- In a saucepan, combine apple cider vinegar, water, sugar, salt, and peppercorns; bring to a boil.
- Pour the hot pickling liquid over the onions in the jars, ensuring they are fully submerged.
- Seal the jars and let them cool to room temperature before refrigerating for at least 24 hours (or up to 5 days).
- Store the pickled red onions in the refrigerator for up to 3 weeks.