Unlock the Secret to Irresistible Homemade Brownies: A Guide to Fudgy Perfection
Ever craved that perfectly rich, intensely chocolatey, and delightfully fudgy Chocolate brownies? The kind that makes your eyes roll back in your head with pure bliss? While store-bought options can be tempting, nothing beats the warmth, aroma, and unparalleled taste of homemade goodies. Preparing these delectable treats in your own kitchen not only guarantees fresh, high-quality ingredients but also allows you to customize them to your exact preference. Forget rubbery, dry imitations; with our comprehensive guide, you’ll master the art of baking truly exceptional Brownies that will impress everyone.
Ingredients & Kitchen Tools
Crafting the perfect batch of Brownies requires a balance of simple ingredients and basic kitchen tools. Here’s what you’ll need to create those incredible Chocolate brownies.
Ingredients:
1 cup (2 sticks) unsalted butter: Enhances richness and flavor. Substitution: salted butter (omit added salt).*
- 1 ½ cups granulated sugar: Provides sweetness and contributes to fudginess.
¾ cup unsweetened cocoa powder: The star ingredient for intense chocolate flavor. Substitution: Dutch-processed cocoa for a darker, less acidic flavor.*
- ½ teaspoon salt: Balances sweetness and enhances chocolate notes.
- 2 large eggs: Binds ingredients and adds moisture.
- 1 teaspoon vanilla extract: Boosts overall flavor.
½ cup all-purpose flour: Provides structure. Substitution: gluten-free all-purpose flour blend for a GF option.*
- Optional additions: ½ cup chocolate chips (for extra chocolatey goodness), ½ cup chopped nuts (walnuts or pecans for crunch).
Kitchen Tools:
- 9×13 inch baking pan: Standard size for most brownie recipes.
- Parchment paper: Prevents sticking and makes removal easy.
- Large microwave-safe bowl or double boiler: For melting butter and chocolate.
- Whisk: For combining wet ingredients.
- Rubber spatula: For folding in dry ingredients.
- Measuring cups and spoons: For accurate ingredient quantities.
- Wire cooling rack: For even cooling.
Prep Time & Cooking Schedule
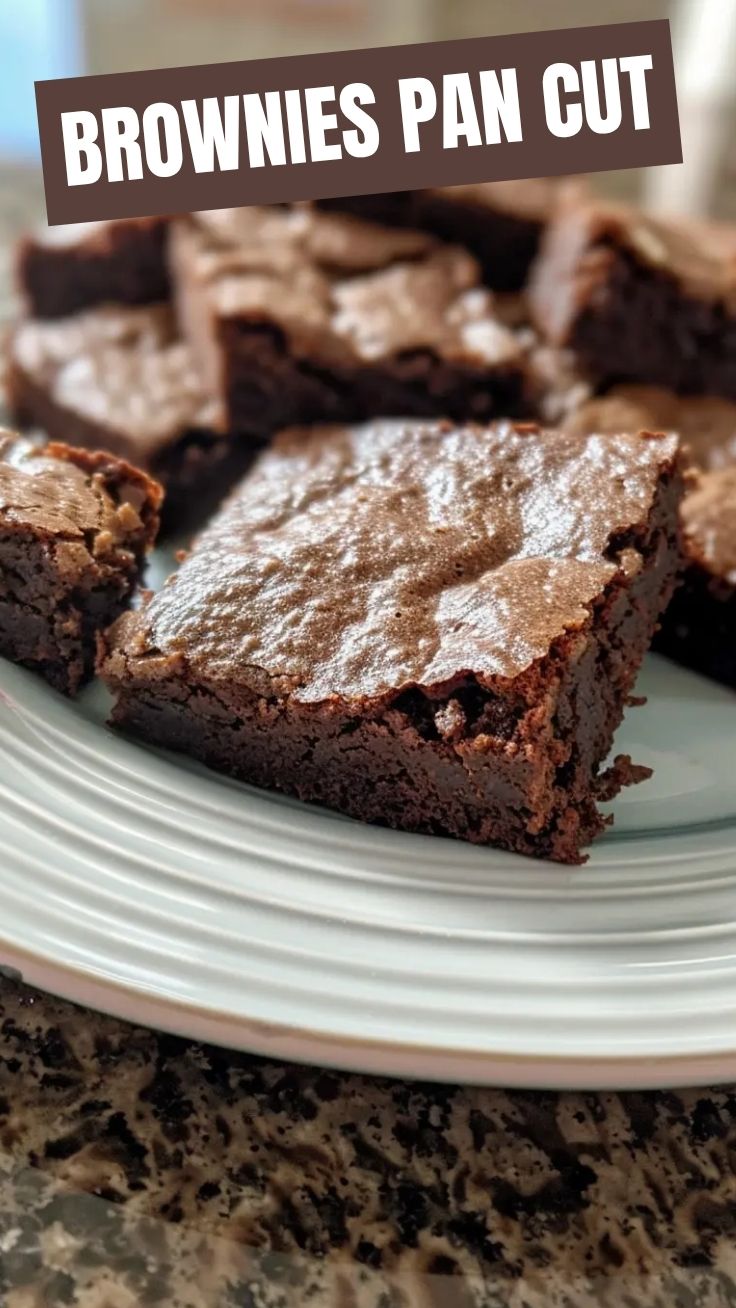
Planning is key to a stress-free baking experience. These Brownies are relatively quick to put together, with most of the waiting time dedicated to cooling.
- Prep Time: 15 minutes (Includes gathering ingredients and basic mixing.)
- Cook Time: 25-30 minutes (Depending on your oven and desired fudginess.)
- Resting Time: 2 hours (Crucial for achieving that ultimate fudgy texture and clean cuts. Resist the urge to cut them warm!)
Aim to start your brownie adventure a few hours before you plan to serve them, or even the day before for optimal results. The resting period allows the flavors to meld and the structure to set, resulting in perfectly dense and chewy squares.
Step-by-Step Instructions
Follow these detailed steps to bake your way to the perfect batch of Brownies. Mastering these little nuances will ensure your Chocolate brownies are out of this world.
1. Preheat & Prepare: Preheat your oven to 350°F (175°C). Line a 9×13 inch baking pan with parchment paper, leaving an overhang on the sides for easy lifting. Lightly grease the parchment paper for extra non-stick insurance.
2. Melt Butter & Cocoa: In a large microwave-safe bowl, melt the butter. Stir in the granulated sugar, cocoa powder, and salt. Whisk until fully combined and smooth. The mixture will be thick and glossy. This initial mixing is crucial for dissolving the sugar and creating that signature shiny crust.
3. Add Wet Ingredients: Whisk in the eggs one at a time, ensuring each is fully incorporated before adding the next. Stir in the vanilla extract. The mixture should become lighter in color and slightly fluffy.
4. Fold in Flour: Gently fold in the all-purpose flour with a rubber spatula until just combined. Be careful not to overmix, as this can lead to dry and tough Brownies. If using, fold in chocolate chips or nuts at this stage. You want to see no streaks of dry flour for perfect Chocolate brownies.
5. Bake: Pour the batter into your prepared baking pan and spread evenly. Bake for 25-30 minutes, or until a toothpick inserted into the center comes out with moist crumbs, not wet batter. Overbaking is the enemy of fudgy brownies!
6. Cool Completely: Remove from the oven and let cool completely on a wire rack for at least 2 hours before cutting. This resting period is critical for achieving that dense, fudgy texture.
Nutritional Benefits & Advantages
Beyond their undeniable deliciousness, homemade Brownies offer a few advantages. Dark cocoa powder is rich in antioxidants, which can help combat free radicals in the body. While it’s a treat, not a health food, enjoying a homemade portion means you control the quality of ingredients, avoiding artificial additives and excessive preservatives often found in store-bought options. Plus, the joy of baking can be a therapeutic and rewarding experience!
Tips, Variations & Cooking Advice
- Extra Fudgy: For an even fudgier texture, slightly underbake your Brownies. The toothpick should come out with a few moist crumbs, not completely clean.
- Flavor Boosts: Add a pinch of instant espresso powder to the batter to deepen the chocolate flavor without making it taste like coffee.
- Swirl It Up: Before baking, swirl in a tablespoon or two of softened cream cheese or peanut butter for a marbled effect and added flavor complexity.
- Salted Caramel: Drizzle with homemade or store-bought salted caramel sauce after baking and cooling for an indulgent twist.
- Gluten-Free: Substitute the all-purpose flour with a good quality gluten-free all-purpose flour blend (like Bob’s Red Mill 1-to-1) for equally delicious results.
- Dairy-Free: Use a plant-based butter substitute and ensure your chocolate chips (if using) are dairy-free.
Common Mistakes to Avoid
- Overmixing the Batter: This develops the gluten in the flour, leading to tough, cakey Brownies. Mix until just combined.
- Overbaking: The most common mistake! Overbaked brownies are dry and crumbly. Always err on the side of slightly underbaked for fudgy results.
- Cutting Warm Brownies: This will result in a messy, crumbly experience. Patience is a virtue; let them cool completely.
- Using Poor Quality Cocoa: The quality of your cocoa powder directly impacts the depth of chocolate flavor. Invest in a good brand for superior taste.
Storage & Meal Prep Tips
Proper storage ensures your Brownies stay fresh and delicious.
- Room Temperature: Store cut Chocolate brownies in an airtight container at room temperature for up to 3-4 days. Placing a piece of parchment paper between layers can prevent sticking.
- Freezing: For longer storage, wrap individual brownies tightly in plastic wrap, then place them in a freezer-safe bag or container. They can be frozen for up to 3 months. Thaw at room temperature for a couple of hours or gently warm in the microwave for a few seconds.
Conclusion
There you have it – the ultimate guide to creating unbelievably delicious, fudgy homemade Brownies. With careful attention to detail and a little patience, you can consistently bake the kind of rich, decadent treat that truly satisfies any chocolate craving. Don’t be afraid to experiment with variations, but always remember the core principles for achieving that perfect texture and intense chocolate flavor in your Chocolate brownies. Now go forth, bake, and share the joy! We’d love to hear about your baking adventures in the comments below!
FAQs
Q1: My brownies turned out cakey, what went wrong?
A1: This usually means you either overmixed the batter, developing too much gluten, or overbaked them, drying them out. Ensure you mix only until the flour is just incorporated and remove them from the oven when a toothpick comes out with moist crumbs.
Q2: Can I substitute oil for butter?
A2: While you can, it will change the texture and flavor. Butter contributes to the fudginess and richness that oil cannot replicate. If you do use oil, your brownies might be slightly lighter and less dense.
Q3: How do I get that shiny, crackly top on my brownies?
A3: The key to that coveted shiny top is often related to adequately dissolving the sugar in the melted butter and cocoa mixture and beating in the eggs sufficiently. Don’t skip the step of whisking the sugar into the warm butter and cocoa until it’s glossy.
Q4: Can I add nuts or other mix-ins to the batter?
A4: Absolutely! Feel free to fold in up to ½ cup of chopped nuts (walnuts, pecans), chocolate chips, or even dried fruit like dried cherries or cranberries during the final folding stage of the flour.
Q5: How do I know when my brownies are done?
A5: A toothpick inserted into the center should come out with moist crumbs clinging to it, but not wet batter. If it comes out clean, they are likely overbaked. The edges should look set, but the very center might still look slightly gooey.
Delicious Brownies
Ingredients
Equipment
Method
- Preheat your oven to 350°F (175°C) and grease and flour a 9x13 inch baking pan, or line with parchment paper.
- In a medium saucepan, melt the unsalted butter over low heat.
- Remove the melted butter from heat and stir in the granulated sugar and unsweetened cocoa powder until well combined.
- Beat in the eggs one at a time, then stir in the vanilla extract until the mixture is smooth and glossy.
- In a separate bowl, whisk together the all-purpose flour, salt, and baking powder.
- Gradually add the dry ingredients to the wet ingredients, mixing until just combined; do not overmix. Fold in chocolate chips if desired.
- Pour the brownie batter into the prepared baking pan and spread evenly.
- Bake for 25-30 minutes, or until a toothpick inserted into the center comes out with moist crumbs.
- Allow the brownies to cool completely in the pan before cutting them into squares and serving.