The Ultimate Guide to Perfectly Moist Chocolate Cupcakes
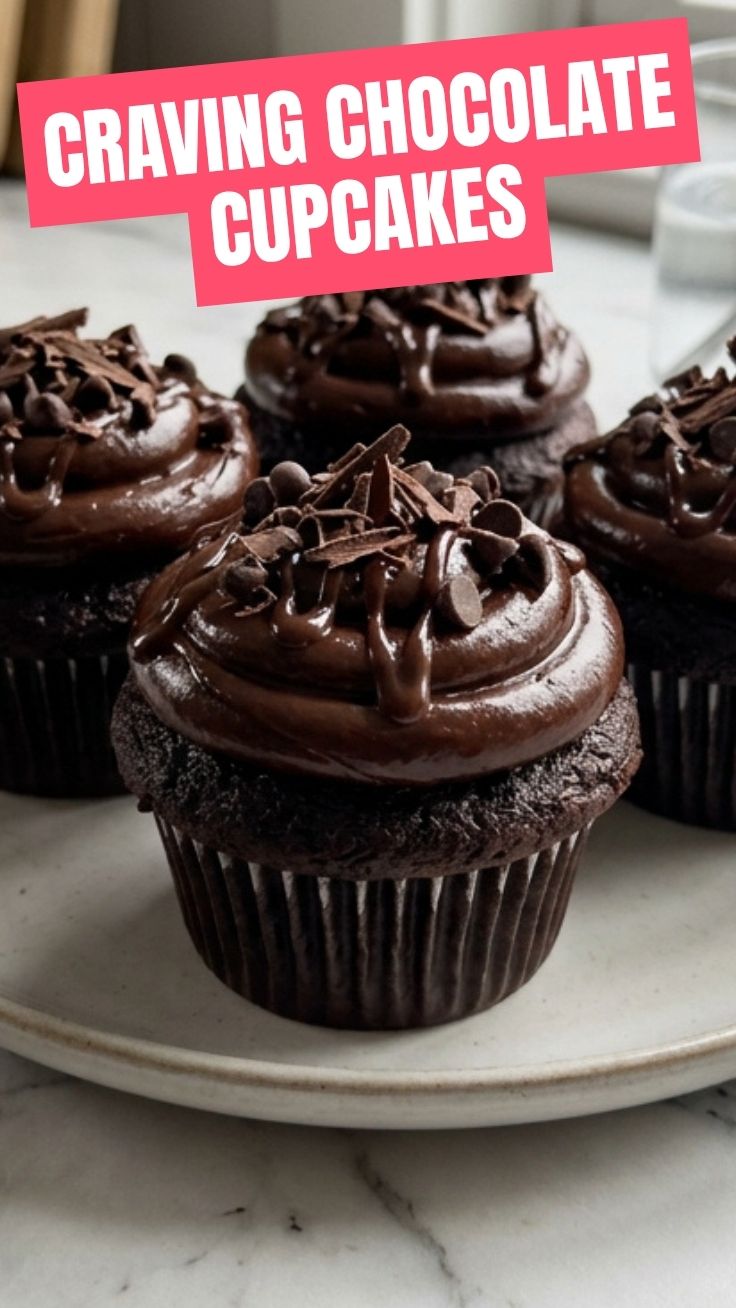
Have you ever bitten into a dry, crumbly cupcake and wondered why bakery-style treats always taste so much better? The secret isn’t magic—it’s mastering the right techniques. Whether you’re baking for a birthday party or a weekend indulgence, homemade Chocolate Cupcakes deliver a rich, fudgy experience that boxed mixes simply can’t replicate. By controlling ingredients and methods, you’ll save money, avoid preservatives, and create desserts that impress every time. Today, we’ll explore how to achieve the perfect crumb, the ideal dome, and a luscious frosting for cupcakes that complements every bite. Let’s dive into this foolproof recipe.
Ingredients & Kitchen Tools
For the Cupcakes:
– 1⅓ cups all-purpose flour (spoon and level for accuracy)
– ¾ cup unsweetened cocoa powder (Dutch-process for deeper flavor)
– 1½ teaspoons baking powder (ensures rise)
– ½ teaspoon baking soda (reacts with acidity)
– ¼ teaspoon salt (enhances chocolate notes)
– 1 cup granulated sugar (adds sweetness and structure)
– ½ cup light brown sugar (adds moisture and chewiness)
– 2 large eggs (at room temperature for even mixing)
– 1 teaspoon vanilla extract (rounds out flavor)
– ½ cup vegetable oil (keeps cupcakes tender longer than butter)
– 1 cup buttermilk (adds tanginess and activates leavening)
– ½ cup hot water (blooms cocoa powder for richer taste)
For the Frosting:
– 1 cup unsalted butter (softened; for fluffiness)
– 3½ cups powdered sugar (sifted to avoid lumps)
– ½ cup cocoa powder (sifted)
– 2 teaspoons vanilla extract
– 4–6 tablespoons heavy cream (adjust for consistency)
– Pinch of salt (balances sweetness)
Kitchen Tools:
– Standard 12-cup muffin pan
– Paper liners (preferably foil-lined for easy release)
– Electric hand mixer or stand mixer (with paddle attachment)
– Large mixing bowls (one dry, one wet)
– Whisk, spatula, and cooling rack
– 1-cup liquid measuring cup and dry measuring cups
– Optional: cookie scoop for even batter distribution
Substitutions:
– Buttermilk → 1 cup milk + 1 tablespoon lemon juice (let sit 5 minutes)
– Vegetable oil → melted coconut oil or applesauce (reduces fat)
– All-purpose flour → gluten-free 1:1 baking blend (ensure it contains xanthan gum)
Prep Time & Cooking Schedule
– Prep Time: 15 minutes (measuring, mixing, lining pan)
– Bake Time: 18–22 minutes (rotate pan halfway for even baking)
– Cooling Time: 10 minutes in pan, then fully on wire rack (30 minutes total)
– Frosting Time: 5 minutes to prepare, 10 minutes to pipe
Plan ahead: Start baking 1 hour before serving. For best texture, let cupcakes cool completely before frosting—warm cupcakes will melt the buttercream, creating a mess. If making a day ahead, store unfrosted cupcakes airtight at room temperature, then frost just before serving.
Step-by-Step Instructions
1. Preheat and Prepare: Set oven to 350°F (175°C). Line muffin pan with 12 liners. This ensures even heat distribution and prevents sticking.
2. Mix Dry Ingredients: In a large bowl, whisk together flour, cocoa powder, baking powder, baking soda, and salt. Sifting if clumpy ensures no bitter pockets of cocoa.
3. Combine Wet Ingredients: In another bowl, whisk eggs, granulated sugar, brown sugar, vanilla, oil, and buttermilk until smooth. The mixture should feel slightly thick and glossy.
4. Create the Batter: Pour wet ingredients into dry. Gently fold with a spatula until just combined—overmixing develops gluten, leading to dense, tough Chocolate Cupcakes. The batter will be thick; do not worry.
5. Add Hot Water: Pour in ½ cup hot water and stir until smooth. This step “blooms” the cocoa, intensifying chocolate flavor. The batter will become thin and silky—perfect for moist cakes.
6. Fill and Bake: Divide batter evenly among liners (fill ⅔–¾ full). Bake for 18–22 minutes, or until a toothpick inserted in center comes out with a few moist crumbs. Temperature cue: Cupcakes should spring back lightly when touched. Remove from pan after 10 minutes; cool completely on a rack.
7. Make the Frosting: Beat softened butter on medium speed until creamy (2 minutes). Add sifted powdered sugar, cocoa, vanilla, salt, and 4 tablespoons cream. Beat on low to combine, then high for 3 minutes until fluffy. Add 1–2 more tablespoons cream if too stiff. This frosting for cupcakes should hold stiff peaks and pipe cleanly.
8. Assemble: Pipe frosting onto cooled cupcakes using a star tip for decorative swirls. For a glossy finish, warm a knife under hot water and smooth the top.
Pro Tip: For ultra-moist cupcakes, add 1 tablespoon sour cream to the wet ingredients. The extra acidity tenderizes gluten while adding richness.
Nutritional Benefits & Advantages
– Antioxidant Boost: Cocoa powder is rich in flavonoids, which support heart health by improving blood flow and reducing inflammation. One cupcake provides about 10–15% of your daily iron needs (from cocoa and eggs).
– Controlled Ingredients: Homemade versions reduce processed sugars and preservatives common in store-bought treats. By using buttermilk, you add calcium and probiotics naturally.
– Portion Control: Each cupcake (with frosting) contains approximately 320–380 calories—reasonable for a dessert when enjoyed mindfully. Swap oil for applesauce to cut fat by 30%.
– Allergen-Friendly Adaptable: As noted below, simple substitutions make this recipe suitable for gluten-free or dairy-free diets without sacrificing flavor.
Tips Variations & Cooking Advice
– Flavor Swaps: Add 1 teaspoon espresso powder to dry ingredients to deepen chocolate notes (coffee enhances cocoa without adding coffee flavor). For a peppermint twist, stir in ½ teaspoon peppermint extract with vanilla.
– Dietary Adaptations:
– Gluten-Free: Use 1:1 gluten-free flour blend and reduce hot water to ⅓ cup (GF flours absorb less liquid).
– Dairy-Free: Replace buttermilk with almond milk + 1 tablespoon apple cider vinegar; use coconut cream instead of heavy cream in frosting.
– Baking Method: For ultra-uniform domes, skip the mixer and whisk wet ingredients by hand—less air incorporation leads to flatter tops that are easier to frost.
– Portion Adjustments: For mini cupcakes (24 per batch), bake for 10–12 minutes. For jumbo cupcakes (6 per batch), bake for 25–28 minutes.
Common Mistakes to Avoid
– Opening the Oven Door Too Early: Trapped heat ensures rise. Wait until 15 minutes have passed, or the center will collapse.
– Using Cold Ingredients: Cold eggs and buttermilk won’t emulsify properly, leading to a greasy texture. Let everything sit at room temperature for 30 minutes before starting.
– Overfilling Liners: Filling more than ¾ full causes batter to spill over, creating uneven shapes and burnt edges. Use a cookie scoop for precise portions.
– Skimping on Cocoa Blooming: Skipping the hot water step results in flat chocolate flavor—the baking soda reacts with heat and activates bloom. Don’t skip this!
Storage & Meal Prep Tips
– At Room Temperature: Store unfrosted cupcakes in an airtight container for up to 2 days. Frosted ones last 1 day (refrigeration can dry them out).
– Refrigeration: Place cupcakes in a sealed container with a paper towel to absorb moisture. They stay fresh for up to 4 days. Bring to room temperature before serving to restore softness.
– Freezing: Wrap unfrosted cupcakes individually in plastic wrap, then place in a freezer bag. Freeze for up to 3 months. Thaw overnight in the fridge or 2 hours at room temperature. Frost after thawing for best results.
– Reheating: Microwave a single cupcake for 10–15 seconds to revive freshness. For frozen cupcakes, warm at 300°F for 5–8 minutes.
Conclusion
From the moment you whisk the batter to the final piping of silky buttercream, these homemade Chocolate Cupcakes deliver bakery-quality results with home-cooked love. By focusing on ingredient temperature, cocoa blooming, and proper mixing, you’ll achieve a moist, tender crumb every time. Pair them with the perfect frosting for cupcakes—whether classic chocolate buttercream or a creative twist—to elevate your dessert game. Try this recipe at your next gathering, share your results in the comments, and explore more indulgent treats to satisfy every craving!
FAQs
1. Can I use water instead of buttermilk?
Yes, but for best results, add 1 tablespoon vinegar or lemon juice to 1 cup milk and let it sit for 5 minutes. Buttermilk’s acidity is essential for tenderness and rise—water alone produces denser cupcakes.
2. My cupcakes domed too much and cracked. Why?
Oven temperature was too high (exceeding 350°F). Reduce heat by 10–15 degrees and position rack in the center. Also, avoid overmixing, which traps excess air.
3. How can I make the frosting less sweet?
Reduce powdered sugar by ¼ cup and add 1 extra tablespoon cocoa powder. Alternatively, use cream cheese (4 oz) in place of ¼ cup butter for tanginess that balances sweetness.
4. Can I skip the hot water step?
Technically yes, but the cupcakes will be less moist and chocolate flavor weaker. Hot water dissolves cocoa solids and activates flavor compounds—it’s a game-changer.
5. Why did my cupcakes sink after baking?
Underbaking is the main culprit. Ensure toothpick comes out with moist crumbs, not wet batter. Also, check baking powder freshness (expired leavener can fail to lift).
Best way to grow your 7 Chocolate CupcakesChocolate Cupcakes
Ingredients
Equipment
Method
- Preheat your oven to 350°F (175°C) and line a 12-cup muffin tin with paper liners.
- In a large bowl, whisk together the flour, sugar, cocoa powder, baking soda, and salt until well combined.
- In a separate medium bowl, whisk together the eggs, milk, vegetable oil, and vanilla extract.
- Pour the wet ingredients into the dry ingredients and mix until just combined, being careful not to overmix.
- Carefully stir in the hot water until the batter is smooth and a little thin.
- Fill each muffin cup about two-thirds full with the batter.
- Bake for 18-22 minutes, or until a wooden skewer inserted into the center of a cupcake comes out clean.
- Let the cupcakes cool in the muffin tin for a few minutes before transferring them to a wire rack to cool completely.