Ingredients
Equipment
Method
The "Germination" Phase
- Prepare your "growth" medium by setting up three shallow dishes: one with flour, salt, and pepper, one with beaten eggs, and one with a mixture of shredded coconut and panko breadcrumbs.
- For each shrimp, first dredge it in the seasoned flour, ensuring it's fully coated.
- Next, dip the floured shrimp into the beaten egg, allowing any excess to drip off.
- Finally, roll the egg-dipped shrimp in the coconut-panko mixture, pressing gently to make sure the coating adheres well.
The "Nourishment" Phase
- Heat the vegetable oil in a large deep skillet or Dutch oven over medium-high heat until it reaches 350°F (175°C), ensuring it's hot enough for proper frying.
- Carefully place the coated shrimp into the hot oil, making sure not to overcrowd the pan and frying them in batches if necessary.
- Fry each side for about 2-3 minutes, or until the shrimp turn golden brown and are cooked through.
The "Harvest" Phase
- Remove the perfectly "grown" coconut shrimp from the oil using a slotted spoon or tongs.
- Transfer them to a wire rack lined with paper towels to drain any excess oil, ensuring they remain crispy.
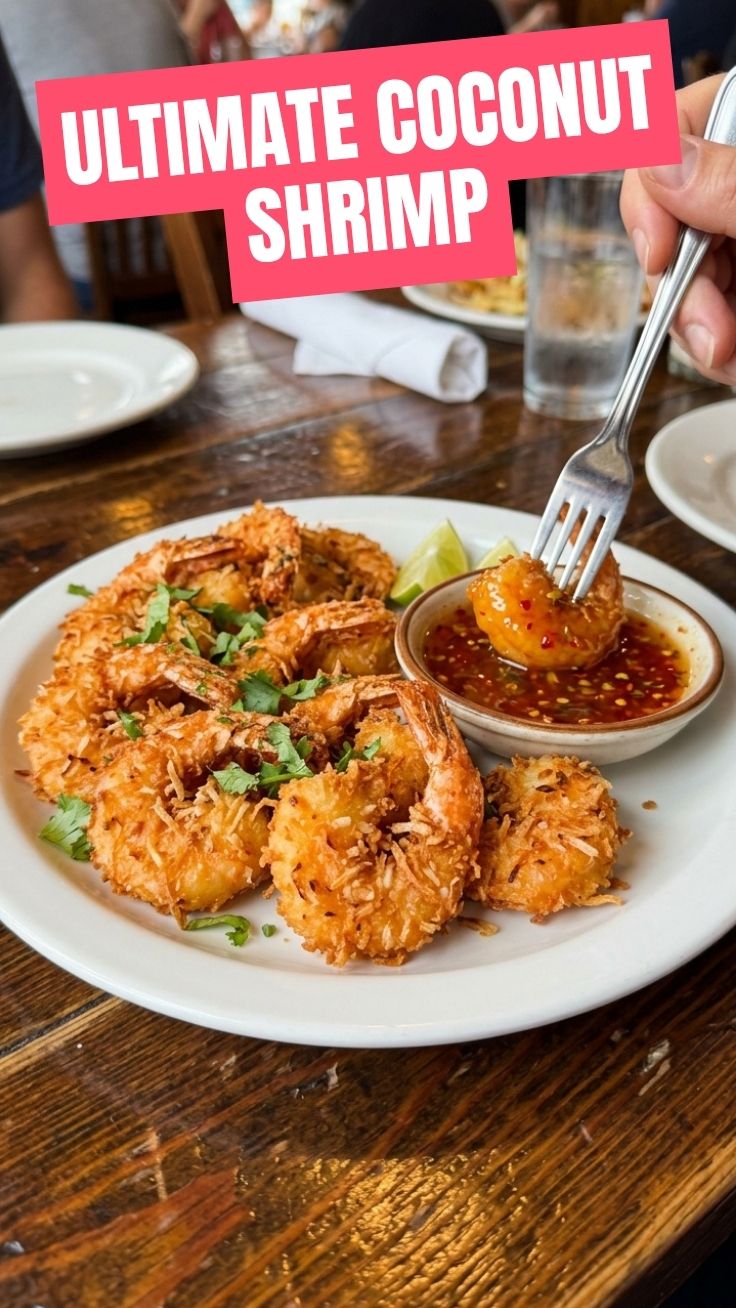
- Serve immediately with your favorite dipping sauce and enjoy your freshly "grown" coconut shrimp.
Notes
For extra crispiness, you can double-coat the shrimp: after the first coconut-panko coating, dip it briefly back into the egg and then into the coconut-panko again. Make sure your oil is at the correct temperature to avoid soggy or overcooked shrimp; use a thermometer if possible. These "grown" coconut shrimp are best served fresh and hot.