The Ultimate Guide to Crispy Korean Fried Chicken at Home
Have you ever craved that perfectly crunchy, sweet, and spicy Korean Fried Chicken but dreaded the long takeout wait or the greasy aftermath of restaurant versions? What if I told you that achieving that iconic double-fried crunch in your own kitchen is not only possible but also surprisingly simple and healthier? Preparing this dish at home gives you full control over the oil quality, spice level, and portion size, ensuring a fresher, more rewarding experience. In this comprehensive guide, we’ll walk you through every step to make restaurant-quality Korean Fried Chicken that stays crispy for hours.
Ingredients & Kitchen Tools
To create the perfect batch, gather the following:
For the Chicken:
– 2 lbs chicken wings or drumettes (drumettes are juicier; wings are great for sharing)
– 1 cup buttermilk (tenderizes and helps the coating stick; substitute with milk + 1 tbsp lemon juice)
– 1 tsp salt (enhances flavor)
– 1/2 tsp black pepper
– 1 cup potato starch (for extra crispiness; cornstarch works too)
– 1/2 cup all-purpose flour (adds structure)
– 1 tsp baking powder (for lightness)
– Neutral oil for frying (canola or vegetable oil; avoid olive oil – it smokes easily)
For the Gochujang Glaze:
– 3 tablespoons gochujang (Korean chili paste)
– 2 tablespoons honey or brown sugar (adjust for sweetness)
– 1 tablespoon soy sauce
– 2 cloves garlic, minced
– 1 tablespoon rice vinegar (balances the heat)
– 1 teaspoon sesame oil
– 1 tablespoon toasted sesame seeds (for garnish)
Kitchen Tools:
– Large mixing bowls
– Whisk or fork
– Deep-fry thermometer (or a wooden chopstick to test oil)
– Heavy-bottomed pot or deep skillet
– Wire rack lined with paper towels
– Tongs or slotted spoon
Prep Time & Cooking Schedule
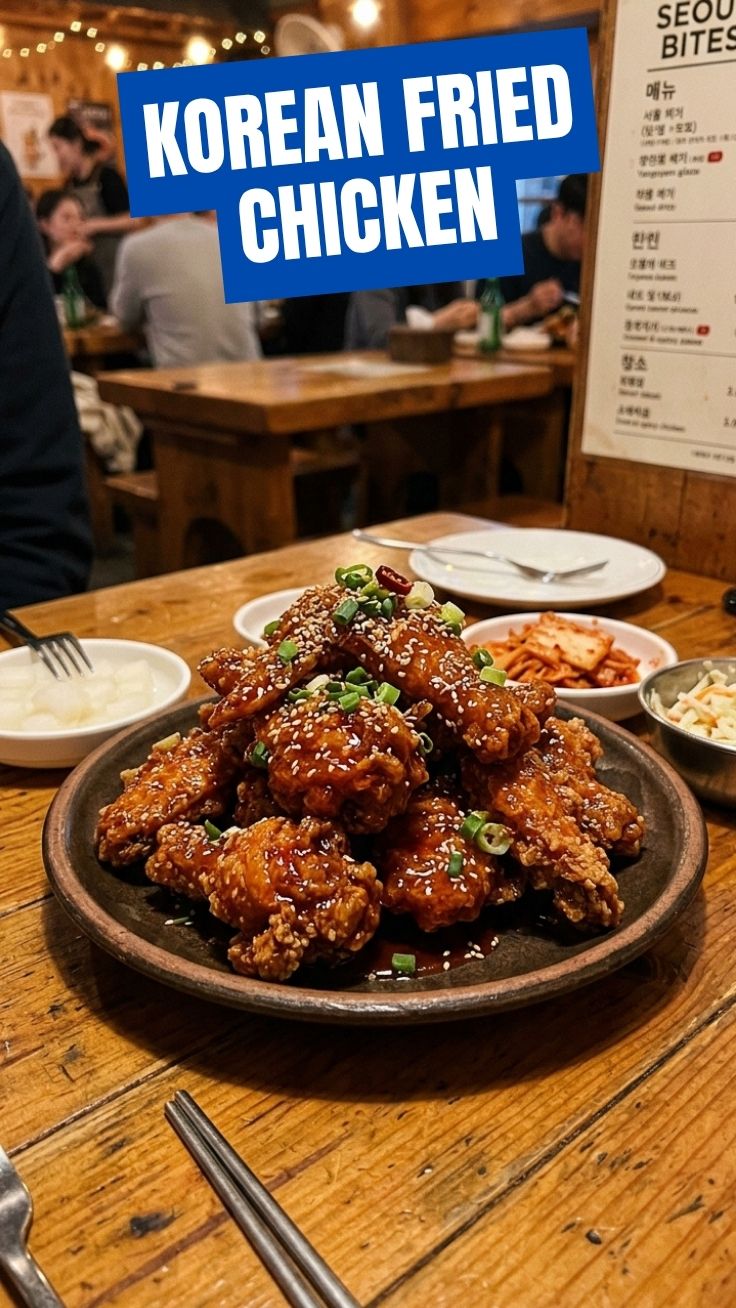
> Note: Image showing a basket of perfectly golden, glazed Korean fried chicken on a wire rack with a dipping sauce.
– Prep Time: 20 minutes (cleaning, marinating, mixing)
– Resting/Marinating Time: 30 minutes (or up to 2 hours for deeper flavor)
– First Fry: 10-12 minutes (3-4 batches)
– Resting After First Fry: 10 minutes (crucial for crunch)
– Second Fry: 5–7 minutes
– Glazing & Serving: 5 minutes
– Total Time: Approximately 1 hour 15 minutes
Plan ahead: The chicken needs at least 30 minutes to marinate. You can also prep the glaze while the chicken rests after the first fry.
Step-by-Step Instructions
1. Marinate the Chicken: In a large bowl, combine buttermilk, salt, and pepper. Add chicken pieces, toss to coat, and refrigerate for at least 30 minutes. This tenderizes the meat and helps the dry coating adhere.
2. Prepare the Dry Coating: In a separate bowl, whisk together potato starch, flour, baking powder, and a pinch of salt. Pro tip: Sifting the mixture ensures an even, lump-free coating.
3. First Fry (Low Heat): Heat about 2 inches of oil to 300°F (150°C) in a heavy pot. Remove chicken from buttermilk, letting excess drip off. Dredge each piece in the dry mix, pressing lightly to adhere. Fry in batches (don’t crowd the pot) for 8–10 minutes until pale golden and cooked through. Transfer to a wire rack. This initial fry cooks the chicken and sets the crust.
4. Rest for 10 Minutes: This is the secret to extra crunch! Let the chicken cool completely on the wire rack. This allows steam to escape, preventing a soggy crust.
5. Second Fry (High Heat): Increase oil temperature to 375°F (190°C). Fry the chicken a second time for 3–5 minutes until deep golden and shatteringly crisp. This step is non-negotiable for authentic texture.
6. Make the Glaze: While chicken fries, whisk together gochujang, honey, soy sauce, garlic, rice vinegar, and sesame oil in a small saucepan. Warm over low heat for 2 minutes, stirring constantly.
7. Glaze & Serve: Toss the hot fried chicken with the warm glaze in a large bowl. Pro tip: Use a light hand – you want the glaze to coat, not drown. Garnish with sesame seeds and serve immediately with pickled radish or coleslaw.
One of the best things about this Korean Fried Chicken recipe is how simple the technique is, yet the double-fry creates a texture that rivals any Korean chicken joint. Trust the process!
Nutritional Benefits & Advantages
This homemade version is significantly healthier than takeout because you control the oil type and avoid preservatives. Key benefits include:
– High-quality protein: Chicken wings provide about 15g of protein per serving, supporting muscle repair and satiety.
– Healthy fats in moderation: Using a neutral oil like canola reduces trans fats compared to reused restaurant oil.
– Gochujang’s metabolic boost: The capsaicin in gochujang may temporarily boost metabolism and reduce inflammation.
– Lower sodium: You control the soy sauce, reducing salt by up to 40% versus fast-food versions.
– No MSG or artificial additives: Homemade means you know exactly what’s in your food.
Tips Variations & Cooking Advice
– Spice level: For milder heat, reduce gochujang to 2 tbsp and add 1 tbsp of ketchup. For extra fire, add 1/2 tsp gochugaru (Korean chili flakes).
– Sweet swap: Use maple syrup instead of honey for a slightly floral sweetness.
– Gluten-free version: Substitute all-purpose flour with rice flour or more potato starch. Ensure soy sauce is tamari or gluten-free.
– Air fryer method: For a lighter version, lightly spray the coated chicken with oil and air fry at 375°F for 20 minutes, flipping halfway. Skip the double-fry but expect a less shattering crunch.
– Bone-in vs. boneless: Boneless thighs cook faster (first fry 6 min, second fry 3 min) but may not be as juicy.
Common Mistakes to Avoid
1. Skipping the Buttermilk Marinade: This step is essential for moisture and coating adhesion. Dry chicken = dry, bare crust.
2. Overcrowding the Pot: This drops the oil temperature, making the chicken greasy and soggy. Fry in small batches.
3. Not Resting After First Fry: This 10-minute rest is critical. If you skip it, the second fry won’t achieve that shattering crunch.
4. Glazing Too Soon: Glaze the chicken immediately after the second fry while it’s piping hot. If it cools, the glaze won’t stick evenly and may slide off.
5. Using Old Oil: Reused oil breaks down and leaves a stale taste. Always use fresh, clean oil for the best crispy Korean chicken.
Storage & Meal Prep Tips
– Refrigeration: Store leftover glazed chicken in an airtight container for up to 3 days. The glaze will soften the crust slightly.
– Freezing: Freeze unglazed, fried chicken on a baking sheet, then transfer to a freezer bag for up to 2 months. Thaw in the fridge overnight.
– Reheating for crispiness: Reheat in an air fryer at 375°F for 5–7 minutes, or in a 400°F oven on a wire rack for 10 minutes. Avoid the microwave – it makes the coating rubbery.
– Meal prep hack: Fry the chicken through the first fry only, freeze it, then do the second fry and glaze right before serving. This saves time without sacrificing quality.
Conclusion
Mastering this Korean Fried Chicken recipe at home is a game-changer for your weeknight dinners or party spreads. The double-fry technique delivers that incomparable crunch, while the gochujang glaze balances sweet heat perfectly. Whether you’re hosting a game-day gathering or simply treating yourself, this dish brings authentic flavor without the hassle of takeout. We’d love to hear your results – share your crispy creations in the comments below! The journey to perfect Korean chicken starts with one batch, and we promise you’ll never look back.
FAQs
Q: Can I use chicken breasts instead of wings?
A: Absolutely! Cut breasts into 1-inch chunks. Reduce first fry time to 6 minutes and second fry to 3 minutes to prevent drying out.
Q: My coating fell off during frying. What went wrong?
A: This usually happens when the chicken isn’t patted dry before marinating, or the oil temperature is too low (below 300°F). Ensure the chicken is well-coated in buttermilk and shake off excess before applying the dry mix.
Q: Can I make the glaze ahead of time?
A: Yes! The glaze keeps in the refrigerator for up to 1 week in an airtight jar. Reheat gently on the stove before tossing with the chicken.
Q: How do I know when the oil is hot enough without a thermometer?
A: Dip the end of a wooden chopstick into the oil. If bubbles form vigorously around it, the oil is ready (around 350-375°F). For 300°F, bubbles should be slow and lazy.
Q: My chicken is still pink inside after the first fry. Is that safe?
A: Not necessarily. Check internal temperature with a meat thermometer – it should reach 165°F. If not, return the chicken to the oil for 2-3 more minutes before the second fry.