Master the Grill: Unlock the Secrets to Restaurant-Quality Grilled Chicken at Home
Tired of dry, bland grilled chicken? Imagine sinking your teeth into tender, juicy, and flavor-packed Grilled Chicken right in your own backyard. Preparing this culinary delight at home isn’t just about saving money; it’s about customizing flavors, ensuring quality ingredients, and impressing your family and friends with a dish that rivals any restaurant. Mastering the art of grilling chicken is a fundamental skill for any home cook, and it opens up a world of delicious possibilities beyond basic barbecues. With our comprehensive guide, you’ll discover how to create perfectly cooked, incredibly flavorful Grilled Chicken Recipes that will become a staple in your meal rotation.
Ingredients & Kitchen Tools
To embark on your journey to perfect grilled chicken, gather these essentials:
- Boneless, Skinless Chicken Thighs or Breasts (1.5-2 lbs): Thighs offer more moisture and flavor, while breasts are leaner.
- Olive Oil (2 tbsp): For marinating and preventing sticking.
- Lemon Juice (2 tbsp): Adds brightness and helps tenderize.
- Garlic, minced (3 cloves): Aromatic foundation.
- Smoked Paprika (1 tsp): Adds a smoky depth.
- Dried Oregano (1 tsp): Earthy and herbaceous.
- Cumin (1/2 tsp): Warm and savory.
- Coriander (1/2 tsp): Sweet and citrusy.
- Cayenne Pepper (1/4 tsp, optional): For a touch of heat.
- Salt (1 tsp) & Black Pepper (1/2 tsp): Essential seasonings.
- Large Ziploc Bag or Bowl: For marinating.
- Grill (Gas or Charcoal): The star of the show!
- Grill Tongs: For turning the chicken safely.
- Instant-Read Meat Thermometer: Crucial for food safety and perfect doneness.
- Basting Brush (optional): For applying marinades or glazes during grilling.
- Cutting Board & Sharp Knife: For prep and slicing.
Optional Substitutions: Experiment with different herbs like thyme or rosemary, or use balsamic vinegar instead of lemon juice for a different flavor profile.
Prep Time & Cooking Schedule
- Prep Time: 15 minutes
- Marinating Time: Minimum 30 minutes (up to 4 hours for deeper flavor)
- Cook Time: 10-15 minutes (depending on thickness)
- Resting Time: 5 minutes
For best results, aim to marinate the chicken for at least an hour. This allows the flavors to penetrate and tenderize the meat. If you’re planning for dinner, prepare the marinade in the morning, or even the night before, and let it do its magic in the refrigerator.
Step-by-Step Instructions
1. Prepare the Marinade: In a large Ziploc bag or bowl, combine olive oil, lemon juice, minced garlic, smoked paprika, dried oregano, cumin, coriander, cayenne pepper (if using), salt, and black pepper. Mix thoroughly until well combined.
2. Marinate the Chicken: Add the chicken pieces to the marinade, ensuring each piece is fully coated. Seal the bag (or cover the bowl) and refrigerate for at least 30 minutes, or up to 4 hours. Don’t marinate for more than 4 hours if using lemon juice, as it can start to “cook” the chicken.
3. Preheat Your Grill: Preheat your grill to medium-high heat (around 400-450°F or 200-230°C). Clean the grates thoroughly with a wire brush and lightly oil them to prevent sticking. A well-oiled, hot grill is key for beautiful grill marks and preventing the chicken from adhering.
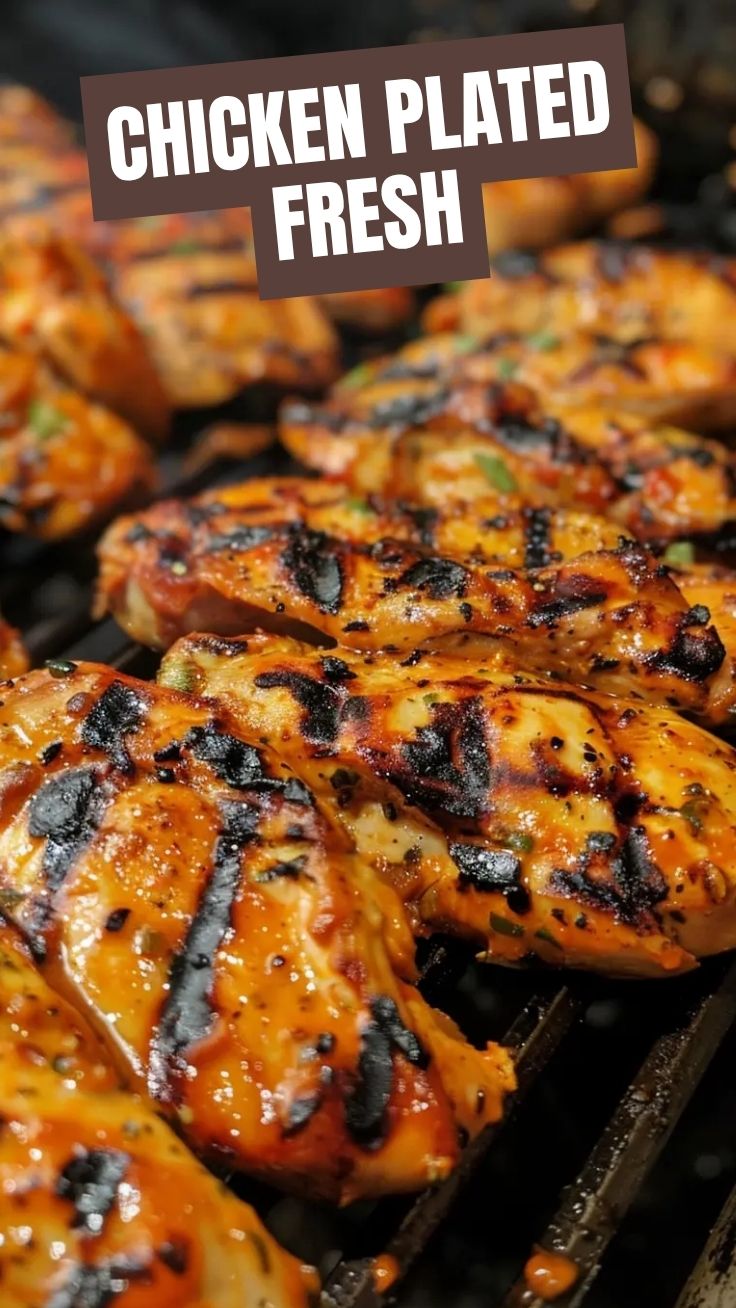
4. Grill the Chicken: Remove the chicken from the marinade, letting any excess drip off. Place the chicken directly on the hot grill grates. For juicy Grilled Chicken, cook for about 5-7 minutes per side for breasts, or 7-8 minutes per side for thighs, depending on their thickness. Avoid moving the chicken too frequently; let it sear to develop those appealing grill marks.
5. Check for Doneness: The most crucial step! Use an instant-read meat thermometer to check the internal temperature. Chicken is safely cooked when it reaches 165°F (74°C) in the thickest part. If it’s not quite there, close the lid and continue cooking for a few more minutes, then recheck. This precision ensures your Grilled Chicken Recipes are always perfect.
6. Rest the Chicken: Once cooked, transfer the grilled chicken to a clean cutting board and tent it loosely with foil. Let it rest for at least 5 minutes. This allows the juices to redistribute throughout the meat, resulting in incredibly tender and moist chicken.
7. Serve: Slice or serve whole, garnished with fresh parsley or a squeeze of fresh lemon juice, if desired.
Nutritional Benefits & Advantages
Grilled chicken is an excellent source of lean protein, essential for muscle building, repair, and overall body function. When skinless, it’s low in saturated fat, making it a heart-healthy choice. The spices used, such as paprika and cumin, add not only flavor but also provide antioxidants and anti-inflammatory properties. Grilling, as a cooking method, often requires less added fat compared to frying, further enhancing its health benefits. It’s a versatile foundation for a balanced meal, pairing well with a variety of vegetables and whole grains.
Tips Variations & Cooking Advice
- Flavor Variations: Explore different marinades! Try a teriyaki glaze, a spicy jerk rub, or a bright herb vinaigrette.
- Ingredient Swaps: Swap lemon juice for lime or orange juice. Use honey mustard or BBQ sauce as a glaze in the last few minutes of grilling.
- Alternative Cooking Methods: If you don’t have a grill, you can use a grill pan on your stovetop or bake the chicken in the oven at 400°F (200°C) until cooked through.
- Dietary Adaptations: This recipe is naturally gluten-free if you ensure your spices are pure. It is also dairy-free.
- Portion Control: Adjust the number of chicken pieces based on serving size.
Common Mistakes to Avoid
- Overcooking: This is the most common culprit behind dry, rubbery chicken. Always use a meat thermometer and aim for 165°F (74°C) precisely. Resting the chicken also helps prevent this.
- Not Oiling the Grates: Leads to sticking and tearing of the chicken, ruining those beautiful grill marks.
- Grilling Cold Chicken: Always let your chicken come closer to room temperature for about 15-20 minutes before grilling. This ensures more even cooking.
- Flipping Too Often: Resist the urge! Let the chicken develop a good sear before flipping to create a delicious crust and prevent sticking.
- No Resting Time: Skipping the rest means juices will run out when you cut into the chicken, resulting in a drier product.
Storage & Meal Prep Tips
Storage: Leftover grilled chicken can be stored in an airtight container in the refrigerator for 3-4 days. For longer storage, freeze the cooked chicken in a freezer-safe bag or container for up to 3 months. Thaw overnight in the refrigerator before reheating.
Reheating: To maintain moisture and flavor, gently reheat grilled chicken in a microwave at 50% power, or in a preheated oven at 300°F (150°C) until just warmed through. Adding a splash of broth or water can help prevent drying out.
Meal Prep: Grilled chicken is fantastic for meal prep! Cook a large batch and use it throughout the week in salads, sandwiches, wraps, pasta dishes, or quesadillas.
Conclusion
Mastering the art of delicious, juicy Grilled Chicken is an incredibly rewarding culinary skill. By following these detailed steps, understanding temperature control, and embracing the value of resting, you’re well on your way to creating memorable meals. We encourage you to try this recipe, experiment with various Grilled Chicken Recipes, and taste the difference that careful preparation makes. Share your grilling triumphs with us in the comments below!
FAQs
Q1: How do I prevent my grilled chicken from drying out?
A1: Marinating, not overcooking (use a thermometer!), and allowing the chicken to rest after grilling are key to keeping it moist and juicy.
Q2: Can I grill frozen chicken?
A2: No, never grill frozen chicken. It will cook unevenly and can be a food safety risk. Always thaw chicken completely before grilling.
Q3: What’s the best way to get good grill marks?
A3: Ensure your grill grates are clean and hot, and lightly oiled. Place the chicken down and avoid moving it for the first 5-7 minutes to allow a good sear to develop.
Q4: Can I make this a spicier grilled chicken?
A4: Absolutely! Increase the cayenne pepper, add some red pepper flakes to the marinade, or include a dash of your favorite hot sauce.
Q5: How do I know if my grill is at medium-high heat?
A5: For gas grills, aim for a consistent temperature reading between 375-450°F (190-230°C). For charcoal, you should be able to hold your hand about 5 inches above the grates for only 3-4 seconds before needing to pull it away due to the heat.
Quick way to grow perfect Grilled Chicken in 5 easy steps
Ingredients
Equipment
Method
- Preheat your grill to medium-high heat and lightly oil the grates to prevent sticking.
- In a bowl, combine the olive oil, paprika, garlic powder, dried oregano, salt, and black pepper.
- Pat the chicken breasts dry with paper towels, then rub them thoroughly with the spice mixture.
- Place the seasoned chicken breasts on the preheated grill and cook for 6-8 minutes per side, or until internal temperature reaches 165°F (74°C).
- Remove the chicken from the grill, let it rest for 5 minutes, then slice or serve whole.