Unlock Dessert Perfection: Your Guide to Crafting the Ultimate No-Bake Cheesecake at Home
Have you ever craved a luxurious, creamy Cheesecake but dreaded the thought of a complicated baking process? Imagine creating a show-stopping dessert that requires no oven, minimal effort, and delivers maximum flavor. Preparing this delightful treat at home isn’t just about saving money; it’s about the joy of crafting something truly special, tailoring it to your taste, and impressing your loved ones with your culinary prowess. This detailed guide will walk you through every step, ensuring your homemade no-bake cheesecake is a resounding success, setting a new standard for effortless indulgence.
Ingredients & Kitchen Tools
Gathering the right ingredients and tools is the first step to your perfect no-bake cheesecake.
- Cream Cheese (2 x 8oz blocks, full-fat, softened): The star of our show, providing that signature creamy texture and tangy flavor. Softened cream cheese is crucial for a smooth, lump-free filling.
- Granulated Sugar (1/2 cup): For sweetness that balances the tang of the cream cheese.
- Heavy Cream (1 1/2 cups, cold): Whipped to stiff peaks, this creates a light, airy texture that is essential for a no-bake cheesecake.
- Vanilla Extract (1 tsp): Enhances the overall flavor profile, adding warmth and depth. Pure vanilla extract is always best.
- Graham Cracker Crumbs (1 1/2 cups): The foundation of our crust, offering a delightful nutty flavor and pleasant crunch. You can buy pre-crushed or make your own.
- Unsalted Butter (1/4 cup, melted): Binds the graham cracker crumbs together for a sturdy crust. Unsalted gives you control over the saltiness.
- Optional Toppings: Fresh berries, chocolate sauce, caramel, fruit compote – let your imagination run wild!
- 9-inch Springform Pan: Essential for easy release of your cheesecake.
- Electric Mixer (stand or hand-held): For whipping cream and blending the filling to perfection.
- Large Mixing Bowls: Several bowls for different stages of preparation.
- Rubber Spatula: For scraping bowls and folding ingredients.
- Measuring Cups and Spoons: For accurate ingredient proportions.
- Microwave-safe Bowl or Small Saucepan: For melting butter.
Prep Time & Cooking Schedule
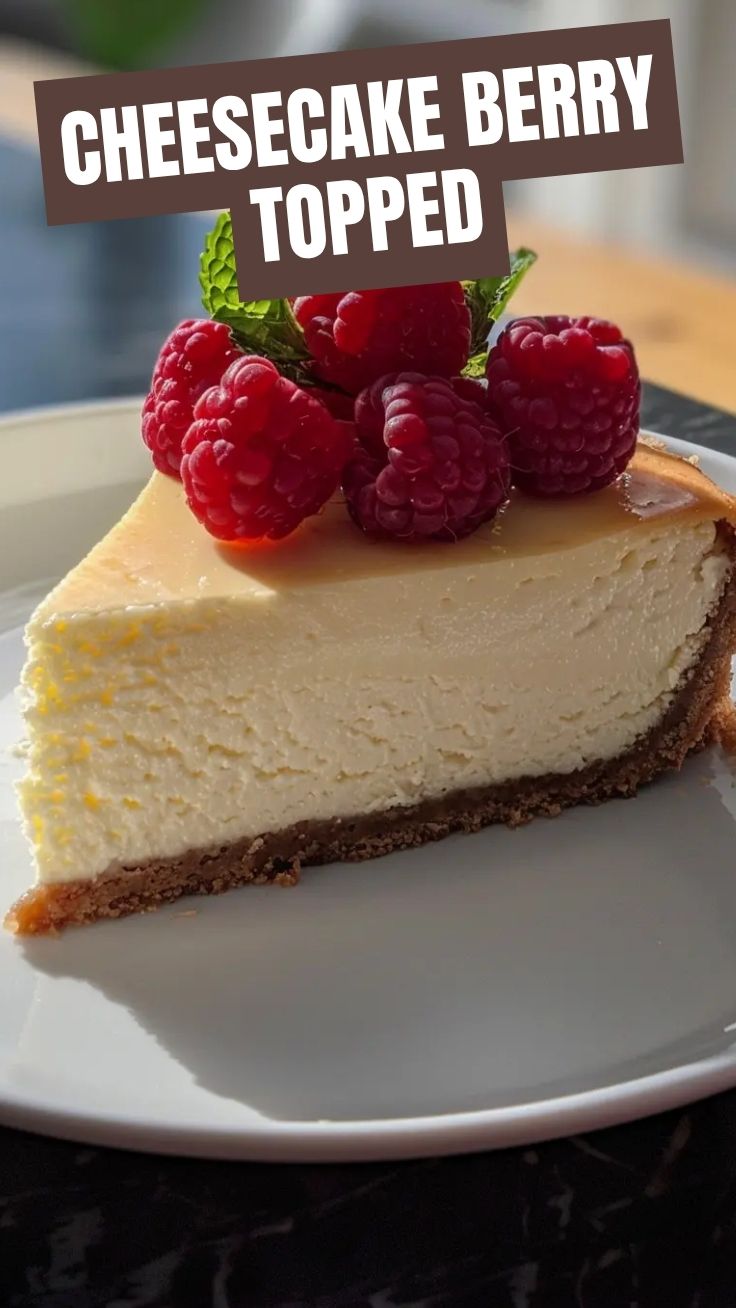
This no-bake wonder is ideal for make-ahead convenience!
- Prep Time: 20 minutes (estimated)
- Chill Time: Minimum 4 hours, ideally overnight (crucial for setting)
Plan to prepare your cheesecake at least half a day before you intend to serve it. An overnight chill ensures optimal firmness and flavor development, transforming it from a delicious mix into a perfectly sliced Cheesecake.
Step-by-Step Instructions
1. Prepare the Crust: In a medium bowl, combine the graham cracker crumbs and melted butter. Mix until the crumbs are evenly moistened. Press the mixture firmly and evenly into the bottom of the 9-inch springform pan. You can use the bottom of a glass to help create a compact, even layer. Place the crust in the refrigerator to chill while you prepare the filling.
2. Whip the Heavy Cream: In a large, cold mixing bowl, beat the cold heavy cream with an electric mixer on medium-high speed until stiff peaks form. Be careful not to overbeat, as it can turn granular. Set aside.
3. Create the Cheesecake Filling: In another large mixing bowl, beat the softened cream cheese and granulated sugar together with an electric mixer on medium speed until smooth and creamy, with no lumps visible. This may take 2-3 minutes.
4. Add Vanilla: Stir in the vanilla extract until just combined.
5. Fold in Whipped Cream: Gently fold the whipped heavy cream into the cream cheese mixture using a rubber spatula. Use a “cut and fold” technique to maintain the airiness of the whipped cream, ensuring your no-bake Cheesecake remains light and fluffy.
6. Assemble and Chill: Pour the creamy filling over the chilled graham cracker crust in the springform pan. Smooth the top with your spatula. Cover the pan loosely with plastic wrap and refrigerate for at least 4 hours, or preferably overnight, to allow the dessert to set completely.
7. Serve: Once fully chilled and set, carefully remove the sides of the springform pan. Garnish with your desired toppings and slice to serve.
Nutritional Benefits & Advantages
This homemade no-bake cheesecake offers a delightful balance of indulgence and nourishing components. Dairy products like cream cheese and heavy cream provide essential calcium for bone health and protein for muscle repair. When topped with fresh berries, you introduce a boost of antioxidants and vitamins. The ability to control sugar content also allows for a slightly healthier alternative to store-bought versions, making it a mindful yet satisfying treat.
Tips, Variations & Cooking Advice
- Flavor Variations:
* Lemon Zest: Add 1-2 tablespoons of fresh lemon zest to the cream cheese mixture for a zesty, bright flavor.
* Chocolate: Melt 1/2 cup of chocolate chips (dark or milk) and fold into the cream cheese mixture for a rich chocolate cheesecake.
* Espresso: Dissolve 1 tablespoon of instant espresso powder in 1 tablespoon of hot water, then cool and add to the cream cheese for a coffee-infused treat.
* Pumpkin Spice: During autumn, add 1-2 teaspoons of pumpkin pie spice to the cream cheese filling.
- Crust Alternatives:
* Oreo Crust: Use crushed Oreo cookies instead of graham crackers for a richer chocolate base.
* Gluten-Free: Opt for gluten-free graham crackers or a nut-based crust (blended nuts with melted butter).
- Dietary Adaptations: For a lighter version, you can try using reduced-fat cream cheese, but be aware it may result in a slightly less firm texture. Coconut cream can be used as a dairy-free alternative to heavy cream, though the flavor profile will shift.
- Portion Control: Slice into smaller portions, especially if serving after a large meal, or consider using mini springform pans for individual cheesecakes.
Common Mistakes to Avoid
- Not Softening Cream Cheese: This is the most common mistake! Cold cream cheese will result in a lumpy, unappealing filling. Always ensure it’s at room temperature.
- Overbeating Heavy Cream: Overbeating can cause the cream to become grainy or even separate. Stop as soon as stiff peaks form.
- Not Chilling Long Enough: Patience is key! An insufficiently chilled cheesecake will be soft, runny, and difficult to slice. Allow at least 4 hours, ideally overnight.
- Forgetting to Grease the Pan: While a springform pan makes release easier, a light spray of cooking oil on the bottom can further prevent sticking, especially with a buttery crust.
- Aggressively Folding Whipped Cream: Over-mixing the whipped cream into the cream cheese will deflate the air, making your cheesecake dense instead of light and airy. Fold gently.
Storage & Meal Prep Tips
Your no-bake cheesecake is an excellent make-ahead dessert. Once fully chilled, cover the springform pan or individual slices tightly with plastic wrap to prevent absorption of refrigerator odors and maintain freshness. Store in the refrigerator for up to 3-4 days. This cheesecake can also be frozen! Freeze entire or sliced portions (without toppings) for up to 1-2 months. Thaw in the refrigerator overnight before serving.
Conclusion
Crafting a delightful no-bake Cheesecake at home is a rewarding experience that combines simplicity with sophisticated flavor. From its perfectly crisp crust to its creamy, dreamy filling, this recipe promises to be a crowd-pleaser and a go-to dessert for any occasion. Embrace the ease of its preparation and the joy of creating something truly exquisite without turning on your oven. Give this recipe a try, share your creations in the comments below, and explore our other delicious recipes for more culinary inspiration!
FAQs
Q1: Can I use low-fat cream cheese?
A1: While you can, it’s not recommended for the best texture and firmness. Full-fat cream cheese provides the richness and stability essential for a perfect no-bake cheesecake.
Q2: My whipped cream isn’t getting stiff, what should I do?
A2: Ensure your heavy cream is very cold, and your mixing bowl and whisk attachment are also chilled. If it’s still not whipping, you might need to try a different brand of heavy cream.
Q3: How do I prevent lumps in the cream cheese mixture?
A3: Always start with softened, room-temperature cream cheese. Beat it on its own for a minute or two before adding sugar to ensure maximum smoothness.
Q4: Can I use different cookies for the crust?
A4: Absolutely! Oreos, Biscoff cookies, shortbread, or even digestive biscuits work wonderfully. Simply crush them and combine with melted butter as directed.
Q5: How do I get clean slices?
A5: For the cleanest slices, dip your knife in hot water and wipe it clean between each cut. This will help prevent the cheesecake from sticking to the blade.
Best way to grow the ultimate 7-layer cheesecake
Ingredients
Equipment
Method
- To make the crust, combine graham cracker crumbs and melted butter in a bowl.
- Press the mixture firmly into the bottom of a 9-inch springform pan.
- For the filling, beat softened cream cheese and sugar until smooth and creamy.
- Beat in eggs one at a time, then stir in vanilla extract until fully combined.
- Pour the filling over the crust and bake in a preheated oven at 325°F (160°C) for 60-70 minutes, or until the edges are set and the center jiggles slightly.
- Turn off the oven, crack the door, and let the cheesecake cool gradually in the oven for 1 hour.
- Once the cheesecake has cooled, spread a layer of sour cream evenly over the top.
- Return the cheesecake to the oven for an additional 10 minutes, or until the topping is set.
- Remove from the oven, cool completely on a wire rack, then refrigerate for at least 4 hours or overnight before serving.