Unlock the Magic of Homemade Sourdough: Your Guide to Artisanal Perfection
Ever wondered if you could recreate that irresistible aroma and chewy texture of bakery-quality bread right in your own kitchen? The answer is a resounding yes! Mastering the art of making Sourdough Bread at home isn’t just about baking; it’s about connecting with an age-old culinary tradition that yields truly extraordinary results. This comprehensive guide will walk you through every step of crafting a magnificent loaf, from nurturing a vibrant Sourdough Starter to achieving that coveted golden crust and airy crumb. Get ready to embark on a rewarding journey that will transform your baking skills and delight your taste buds.
Ingredients & Kitchen Tools
Crafting outstanding Sourdough Bread requires a few essential items. Here’s what you’ll need:
- Active Sourdough Starter (100g): This is the heart of your bread, a living culture of wild yeasts and bacteria. Ensure it’s active and bubbly.
- Warm Water (350g, 90-95°F/32-35°C): Critical for activating the yeast and hydrating the flour.
- Bread Flour (500g): High protein content (12-14%) provides the necessary structure for a chewy loaf. All-purpose flour can be used but may result in a less airy crumb.
- Fine Sea Salt (10g): Enhances flavor and controls fermentation. Do not use iodized salt, as it can inhibit yeast activity.
- Rice Flour (for dusting): Prevents the dough from sticking to the banneton or work surface.
- Large Mixing Bowl: For combining ingredients and bulk fermentation.
- Dough Scraper: Essential for handling sticky dough and shaping.
- Banneton or Proofing Basket: Provides support during the final proof and helps achieve a beautiful shape. A bowl lined with a floured tea towel works as an alternative.
- Dutch Oven (5-6 quart): Creates a steamy environment for a superior crust. A heavy-bottomed pot with a lid can also work.
- Lame or Sharp Razor Blade: For scoring the dough, allowing it to expand beautifully.
- Kitchen Scale: Crucial for precise measurements, especially with sourdough.
- Plastic Food Wrap or Shower Cap: For covering the dough during bulk fermentation.
Prep Time & Cooking Schedule
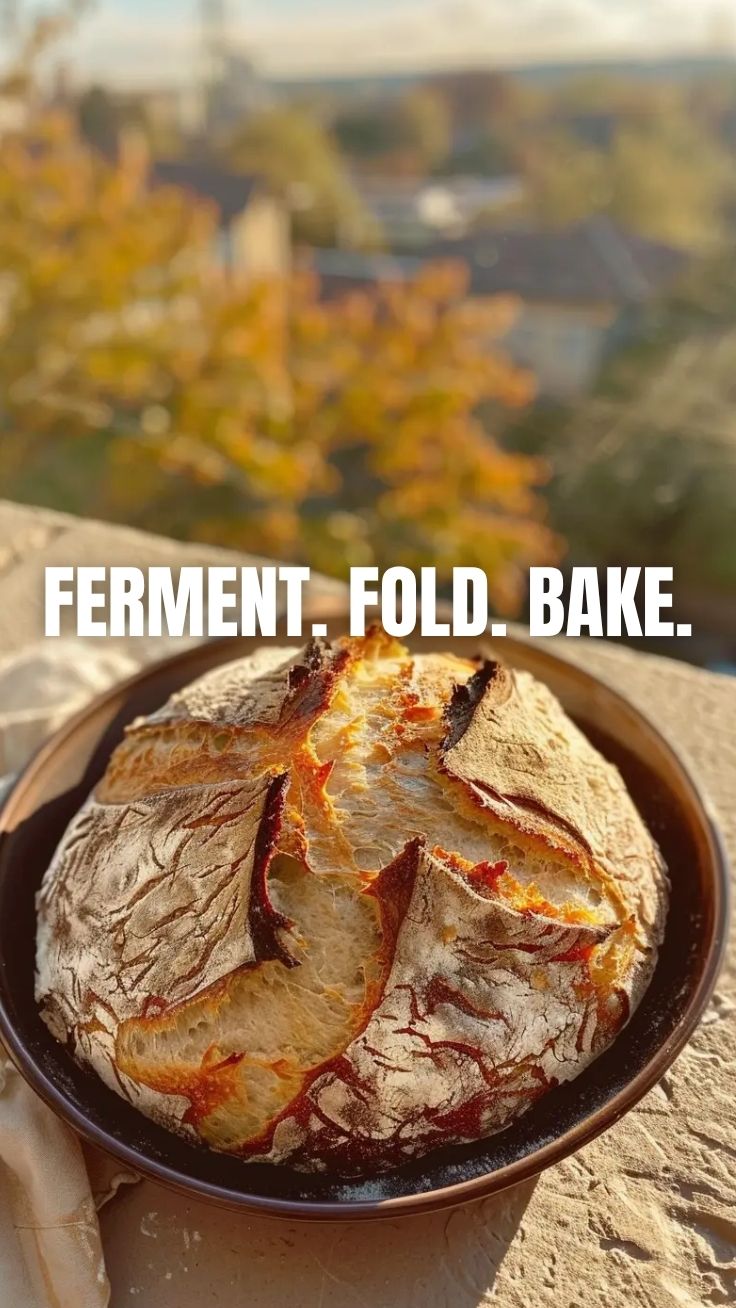
Sourdough baking is a marathon, not a sprint, requiring patience and a mindful schedule.
- Active Prep Time: 20-30 minutes (mixing, stretching & folding)
- Bulk Fermentation (First Rise): 3-5 hours (at room temperature, depending on ambient temperature and starter activity)
- Resting Time (Bench Rest): 20-30 minutes
- Final Proof (Cold Fermentation): 12-18 hours (in the refrigerator) or 2-4 hours (at room temperature)
- Baking Time: 45-50 minutes
Planning Ahead: For best results, start the process the day before you want to bake. This allows for a long, cold proof, which develops deeper flavors and a more open crumb.
Step-by-Step Instructions
1. Feed Your Sourdough Starter: 4-6 hours before you plan to mix your dough, feed your starter. It should be active, bubbly, and smell slightly sweet and tangy.
2. Autolyse (Optional but recommended): In your large mixing bowl, combine the warm water and bread flour until just combined and no dry spots remain. Cover and let rest for 30 minutes to 1 hour. This step allows the flour to fully hydrate and gluten to begin developing.
3. Mix in Starter & Salt: Add your active Sourdough Starter to the dough. Incorporate it thoroughly. Then, sprinkle the salt over the dough. Using wet hands, gently mix until the salt is evenly distributed.
4. Bulk Fermentation & Stretch & Folds: Cover the bowl and let the dough rest for 30 minutes. Then, perform your first set of “stretch and folds.” Gently grab the dough from one side, stretch it up, and fold it over itself. Rotate the bowl 90 degrees and repeat. Do this 3-4 times in total. Repeat this process every 30-60 minutes for a total of 3-4 sets over 3-5 hours. The dough should become more elastic and robust.
5. Bench Rest & Pre-Shaping: Gently turn the dough out onto a lightly floured surface. Divide it if making multiple loaves. Gently pre-shape each portion into a loose round or rectangle. Cover with a kitchen towel and let rest for 20-30 minutes. This relaxes the gluten.
6. Final Shaping: Lightly flour your banneton with rice flour. Shape the dough into its final form (round or oblong), creating tension on the surface. Place the dough, seam-side up, into the prepared banneton.
7. Final Proof (Cold Fermentation): Cover the banneton with plastic wrap or a shower cap and refrigerate for 12-18 hours. This slow, cold proof enhances flavor and allows for easier scoring and a better oven spring for your Sourdough Bread.
8. Preheat & Bake: When ready to bake, place your Dutch oven with the lid in the oven and preheat to 475°F (245°C) for at least 30 minutes.
9. Score & Bake: Carefully remove the hot Dutch oven. Gently invert the dough from the banneton into the hot Dutch oven. Score the top of the dough with your lame or razor blade. Cover and bake for 30 minutes.
10. Uncover & Finish: Remove the lid, reduce oven temperature to 450°F (230°C), and bake for another 15-20 minutes, or until the crust is deeply golden brown and the internal temperature reaches 200-210°F (93-99°C).
11. Cool Completely: Transfer the bread to a wire rack and let it cool completely for at least 2 hours before slicing. This allows the internal structure to set and prevents a gummy texture.
Nutritional Benefits & Advantages
Homemade Sourdough Bread offers more than just incredible flavor. The long fermentation process breaks down complex carbohydrates and gluten, making it easier to digest for some individuals. It’s also rich in prebiotics, promoting a healthy gut microbiome. The slow fermentation increases the bioavailability of essential nutrients like iron, zinc, and magnesium, making it a more nutritious choice than conventionally leavened bread. Plus, you control all the ingredients, avoiding unwanted additives or preservatives.
Tips, Variations & Cooking Advice
- Hydration: For a more open crumb, you can increase the water slightly (an extra 10-20g), but be aware it will be stickier.
- Add-ins: Incorporate toasted nuts, seeds (e.g., sesame, flax, sunflower), dried fruits, or cheese during the second set of stretch and folds.
- Flavor Boost: Experiment with different flours! A small percentage of whole wheat or rye flour can add depth and complexity.
- Oven Spring: Ensure your Dutch oven is fully preheated for maximum oven spring and a beautiful crust.
- Scoring: A deep, confident score with a sharp blade is key for allowing the dough to expand evenly.
Common Mistakes to Avoid
- Under-proofed Dough: Results in an extremely dense, brick-like loaf. Ensure your dough has doubled in volume during bulk fermentation and is jiggly for the final proof.
- Over-proofed Dough: Leads to a flat, spread-out loaf with little oven spring. If your dough collapses when touched, it’s likely over-proofed.
- Slicing Too Soon: Cutting hot bread releases steam prematurely, resulting in a gummy texture. Patience is paramount!
- Weak Sourdough Starter: An inactive starter won’t provide enough lift. Always ensure your starter is fed and very active before baking.
- Inaccurate Measurements: Sourdough baking relies on precise ratios. Always use a kitchen scale.
Storage & Meal Prep Tips
Once your Sourdough Bread is completely cool, store it at room temperature in a bread bag or paper bag to maintain its crust and crumb. It will stay fresh for 3-4 days. For longer storage, slice the bread and freeze it in an airtight container or freezer bag for up to 3 months. Thaw individual slices as needed and toast for a quick, delicious treat. This bread also makes fantastic croutons or panzanella!
Conclusion
Creating your own Sourdough Bread is an incredibly rewarding culinary adventure. From the moment you awaken your vibrant Sourdough Starter to the first bite of your beautifully crafted loaf, each step offers a unique satisfaction. This guide provides the framework for success, but remember that practice and observation are your best allies. Don’t be afraid to experiment, learn from each bake, and savor the process. Share your homemade sourdough creations with us and inspire others to join the wonderful world of artisan bread-making!
FAQs
Q1: My Sourdough Starter isn’t active. What should I do?
A1: Feed it regularly (at least once a day if stored at room temp), keep it in a warm spot (75-80°F), and ensure you’re using unbleached flour and filtered water. Give it time; consistency is key.
Q2: Why is my Sourdough Bread so dense?
A2: Common reasons include an under-active starter, insufficient gluten development during stretch and folds, or under-proofing. Review your starter’s activity and extend bulk fermentation or final proof time.
Q3: Can I bake Sourdough Bread without a Dutch oven?
A3: Yes, you can use a heavy-bottomed pot with a lid that can withstand high temperatures, or even place a pan of hot water in the oven to create steam. However, a Dutch oven generally gives the best results.
Q4: How important is humidity in Sourdough Bread baking?
A4: Humidity is crucial during the initial stages of baking to prevent the crust from setting too quickly, allowing for maximum oven spring and a beautiful score. A covered Dutch oven creates this ideal steamy environment.
Q5: My crust is too dark/burnt. What went wrong?
A5: Your oven might be running hot, or you baked it for too long at the higher temperature. Try reducing your oven temperature slightly (25°F) or shortening the second bake time by 5-10 minutes. Covering it loosely with foil for the last 10 minutes can also help.
How to grow sourdough bread
Ingredients
Equipment
Method
- Combine flour, warm water, yeast, and sugar in a large bowl and mix thoroughly. Continue adding flour and water alternately, ensuring the mixture is free of lumps.
- Transfer the mixture to a large glass jar and cover it tightly with a lid, allowing it to sit at room temperature for at least 24 hours.
- After 24 hours, add more flour and water to the mixture and stir well. Return the lid and let it rest for another 24 hours.
- Repeat the feeding process every 24 hours for several days until the starter becomes bubbly and has a noticeable sour smell. This indicates proper fermentation and activity.