Master the Grill: The Ultimate Guide to Irresistible Baby Back Ribs
Ever wondered how top pitmasters achieve that perfect, fall-off-the-bone tenderness and smoky flavor in their BBQ Ribs? While dining out is convenient, there’s an unparalleled satisfaction in mastering the art of grilled ribs right in your own backyard. Not only do you get to customize every spice and sauce to your liking, but you also create memorable experiences for family and friends. This comprehensive guide will walk you through everything you need to know to make the best Baby Back Ribs, turning your home grill into a source of culinary magic.
Ingredients & Kitchen Tools
To embark on your grilled rib adventure, gather these essentials:
- Baby Back Ribs (2 racks): Look for ribs that are meaty with good marbling.
- Dry Rub: Your secret weapon! A blend of brown sugar, smoked paprika, garlic powder, onion powder, salt, black pepper, cayenne pepper (optional), and cumin.
- Apple Cider Vinegar (1/2 cup): For spritzing, adds moisture and tang.
- BBQ Sauce (1-2 cups): Your favorite brand or homemade, for glazing.
- Aluminum Foil (heavy-duty): Essential for the “wrap” phase.
- Sharp Knife: For trimming and sectioning ribs.
- Cutting Board: A sturdy surface for prep.
- Large Baking Sheet or Tray: To hold ribs during seasoning.
- Meat Thermometer: For ensuring internal doneness (optional, but recommended).
- Grill (Charcoal or Gas): Your cooking vessel.
- Tongs: For handling hot ribs.
- Basting Brush: For applying BBQ sauce.
- Spray Bottle: For spritzing.
- Heat-Resistant Gloves: For better handling of ribs on the grill.
Prep Time & Cooking Schedule
- Prep Time: 20-30 minutes (trimming, applying rub)
- Marinating Time: 2-4 hours (or overnight for deeper flavor, optional)
- Cook Time: 3-4 hours (depending on grill temperature and desired tenderness)
- Resting Time: 15-20 minutes
Planning is crucial for perfect ribs. Start your prep in the morning for an evening meal, allowing ample time for the rub to penetrate the meat. The “low and slow” cooking method requires patience but yields incredible results.
Step-by-Step Instructions
1. Prepare the Ribs: Start by removing the thin membrane from the bony side of the Baby Back Ribs. This is critical for tender, non-chewy results. Use a paper towel to grip a corner of the membrane and pull it off. Trim any excess fat.
2. Apply the Dry Rub: Evenly coat both sides of the ribs with your dry rub. Don’t be shy! Gently massage the rub into the meat. For best results, let the ribs sit in the refrigerator for at least 2 hours, or overnight.
3. Preheat Your Grill: Set up your grill for indirect cooking. For a gas grill, ignite burners on one side and leave others off, aiming for a consistent temperature of 250-275°F (120-135°C). For a charcoal grill, push coals to one side.
4. Smoke (Optional but Recommended): Add wood chips (hickory, apple, or cherry work well) for a smoky flavor. Place them directly on coals or in a smoker box on a gas grill.
5. Initial Grill (Unwrapped): Place the seasoned ribs bone-side down on the indirect heat side of the grill. Close the lid and cook for 2-2.5 hours, spritzing with apple cider vinegar every 45-60 minutes to keep them moist.
6. The Wrap Phase: After the initial grill, wrap each rack tightly in heavy-duty aluminum foil. You can add a splash of apple juice or more apple cider vinegar inside the foil for extra moisture. Return the wrapped ribs to the indirect heat and cook for another 1.5-2 hours, or until they reach an internal temperature of around 195-203°F (90-95°C) and are very tender (a skewer should slide in easily). This “Texas crutch” method speeds up cooking and ensures supreme tenderness, a hallmark of amazing BBQ Ribs.
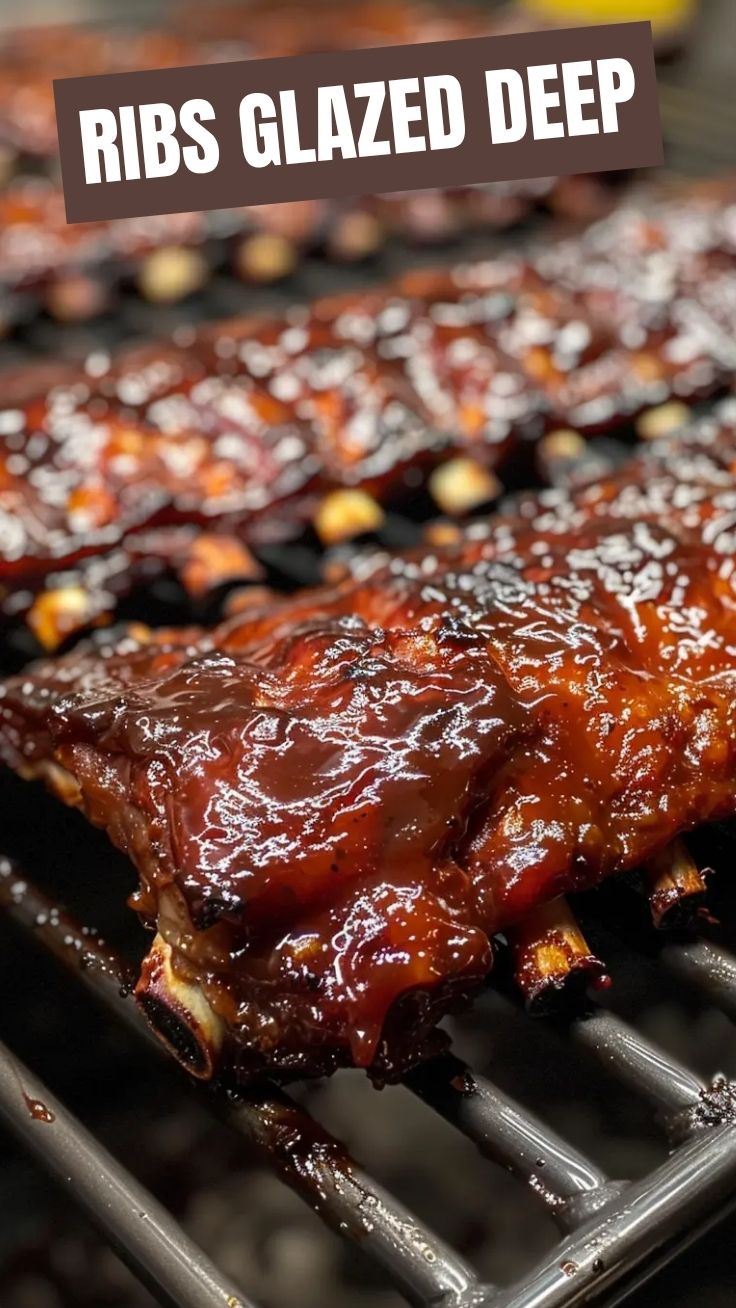
7. Final Glaze: Carefully unwrap the ribs. If desired, brush generously with your favorite BBQ sauce. Return them to the grill (unwrapped) for 15-30 minutes, turning occasionally, until the sauce is caramelized and slightly tacky.
8. Rest and Serve: Transfer the ribs to a cutting board, tent loosely with foil, and let them rest for 15-20 minutes. This allows the juices to redistribute, ensuring maximum flavor and tenderness. Slice between the bones and serve immediately.
Nutritional Benefits & Advantages
Grilled ribs, when prepared thoughtfully, can be a good source of protein, essential for muscle repair and growth. Pork ribs also provide vital B vitamins (like B12, niacin, and B6) which support energy metabolism, and minerals such as zinc and phosphorus. By making them at home, you have full control over the amount of sugar in your rub and sauce, allowing you to create a healthier version compared to many restaurant offerings. Choosing lean cuts and pairing them with fresh, grilled vegetables can make for a balanced and satisfying meal.
Tips Variations & Cooking Advice
- Flavor Profiles: Experiment with different dry rubs! A spicy Cajun rub, a sweet honey-garlic rub, or an herb-infused blend can offer exciting variations.
- Sauce It Up: Beyond traditional BBQ sauce, try a tangy mustard-based sauce, a sweet and spicy Asian glaze, or a vinegar-based Mop sauce.
- Alternative Cooking Methods: No grill? No problem! Ribs can be baked in the oven (start at 275°F for 3-4 hours, then finish under the broiler or on an indoor grill for char). A slow cooker is also an option for initial tenderness before a quick bake or grill to char.
- Dietary Adaptations: For a lower-sugar option, use sugar substitutes in your rub and choose a sugar-free BBQ sauce. Ensure all rub ingredients are gluten-free if catering to dietary restrictions.
Common Mistakes to Avoid
- Not Removing the Membrane: This is the most common mistake and results in tough, chewy ribs. Don’t skip this step!
- Cooking at Too High a Heat: Ribs love “low and slow.” High heat will dry them out and make them tough.
- Over-Saucing Too Early: Applying sugary BBQ sauce too early in the cook will cause it to burn. Add it towards the end.
- Not Resting the Ribs: Patience is key. Resting allows the juices to settle back into the meat, ensuring tenderness.
- Flipping Too Often: Resist the urge! Let the ribs cook undisturbed for long periods.
Storage & Meal Prep Tips
Leftover grilled ribs can be a delicious treat. Store them in an airtight container in the refrigerator for up to 3-4 days. For longer storage, freeze whole racks or individual portions for up to 2-3 months. To reheat, wrap them in foil and warm in the oven at 250-300°F (120-150°C) until heated through, or gently reheat on a grill over indirect heat to maintain moisture and flavor. Avoid microwaving, as it can make them rubbery.
Conclusion
Mastering the art of grilled Baby Back Ribs is a truly rewarding culinary journey. From the initial rub to the final glaze, each step contributes to that perfect balance of smoky flavor, tender meat, and irresistible texture. By following this comprehensive guide, you’re not just making BBQ Ribs; you’re crafting an experience that will impress and delight. So fire up your grill, embrace the process, and get ready to enjoy some of the best ribs you’ve ever tasted. We encourage you to try this recipe and share your delicious results!
FAQs
Q1: How do I know when my ribs are done without a thermometer?
A1: The “bend test” is a great indicator. Pick up a rack of ribs with tongs in the middle. If the ribs are done, they should bend significantly, and the meat should start to crack on the surface.
Q2: Can I use spare ribs instead of baby back ribs?
A2: Absolutely! Spare ribs are larger and meatier, requiring a longer cooking time (typically 4-6 hours). Adjust your cooking schedule accordingly.
Q3: My ribs are always dry. What am I doing wrong?
A3: Dry ribs are usually a result of cooking at too high a temperature or not wrapping them during the middle phase. Ensure low and slow cooking, generous spritzing, and proper wrapping for moisture.
Q4: Should I boil my ribs before grilling?
A4: While some recipes suggest boiling, it often strips the ribs of flavor and nutrients. For truly delicious ribs, stick to the “low and slow” grilling method outlined, which allows for better flavor development and tenderness.
Q5: Can I prepare the dry rub in advance?
A5: Yes! You can make a larger batch of your dry rub and store it in an airtight container for several weeks. This makes prep even quicker on cooking day.
Best way to grow Baby Back Ribs using the 4-2-1 method
Ingredients
Equipment
Method
- Prepare the ribs by removing the membrane from the back of each rack and trimming any excess fat.
- Generously apply your favorite BBQ rub to both sides of the ribs, ensuring full coverage.
- Preheat your smoker or indirect grill to 225°F (107°C). Place the rubbed ribs directly on the grates.
- Smoke the ribs for 4 hours, maintaining a consistent temperature. This step develops deep smoky flavor.
- Remove the ribs from the smoker and place them on individual sheets of heavy-duty aluminum foil. Pour about 1/4 cup of apple juice over each rack.
- Wrap the ribs tightly in the foil, creating a sealed packet. Return the foiled ribs to the smoker for an additional 2 hours at 225°F (107°C).
- Carefully unwrap the ribs, discarding the foil and any liquid. Generously brush both sides of the ribs with BBQ sauce.
- Return the sauced ribs to the smoker, uncovered, for the final hour. This allows the sauce to caramelize and set.
- Once the ribs are done, remove them from the smoker and let them rest for 10-15 minutes before slicing and serving.