Master the Art of the Perfectly Juicy Homemade Cheeseburger: A Culinary Journey
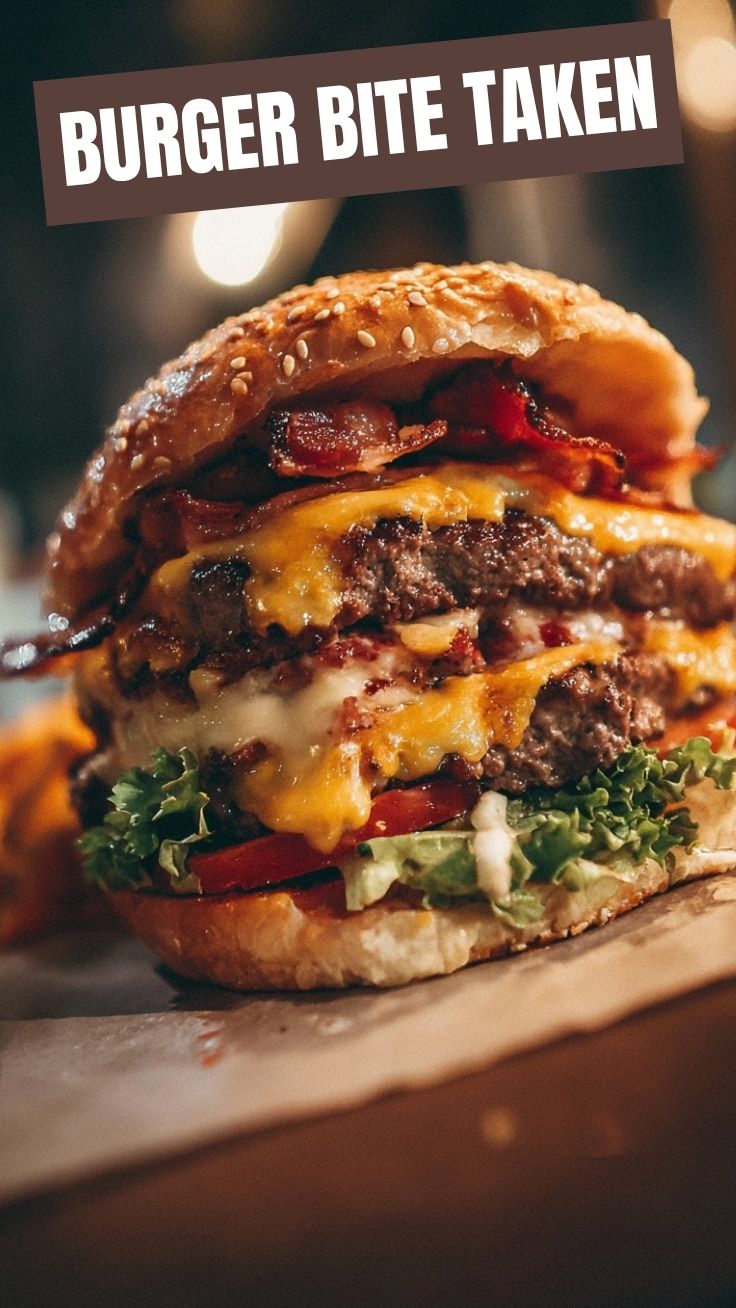
Are you ready to elevate your weeknight meals from mundane to magnificent? Imagine sinking your teeth into a perfectly seared patty, cloaked in melted cheese, nestled in a soft bun with all your favorite fixings. This isn’t just about making a Cheeseburger; it’s about crafting an experience, a masterpiece of flavor and texture right in your own kitchen. While grabbing a quick Hamburger from a drive-thru might be convenient, the satisfaction of creating a gourmet burger at home is unparalleled. You control the quality of ingredients, the seasoning, and the cooking method, ensuring every bite is exactly how you like it. This guide will empower you to become a burger maestro, transforming simple ingredients into an unforgettable meal that will have everyone asking for seconds.
Ingredients & Kitchen Tools
Here’s everything you’ll need to embark on your delicious journey:
- Ground Beef (80/20 lean-to-fat ratio, 1.5 lbs): The ideal blend for juicy, flavorful burgers. Avoid leaner ground meats as they tend to dry out.
- Cheese Slices (6-8 slices, variety of choice – cheddar, American, provolone): For that classic melted Cheeseburger goodness. American melts beautifully.
- Burger Buns (6-8, brioche or potato recommended): Soft, slightly sweet buns complement the savory patty perfectly.
- Salt & Freshly Ground Black Pepper (to taste): Essential seasoning for enhancing the beef’s natural flavors.
- Garlic Powder (1 tsp): Adds a subtle aromatic depth to the patties.
- Onion Powder (1 tsp): Contributes to a rich, umami flavor profile.
- Worcestershire Sauce (1 tbsp): A secret ingredient that adds a fantastic savory kick and tenderizes the meat.
- Vegetable Oil or Grapeseed Oil (1 tbsp): For searing the patties in the skillet.
- Optional Toppings: Lettuce leaves, tomato slices, red onion rings, pickles, ketchup, mustard, mayonnaise, bacon, avocado. Customize to your heart’s content!
Kitchen Tools:
- Large Mixing Bowl: For combining the ground beef and seasonings.
- Grill or Large Cast-Iron Skillet/Heavy-Bottomed Pan: For cooking the patties to perfection.
- Spatula: Essential for flipping burgers without tearing them.
- Meat Thermometer: For ensuring safe internal temperature.
- Basting Brush (optional): For applying oil to the patties or grill grates.
Prep Time & Cooking Schedule
- Prep Time: 15 minutes
- Cook Time: 10-15 minutes
- Resting Time: 5 minutes (for patties after cooking)
This recipe is designed for efficiency, allowing you to whip up a gourmet meal without hours in the kitchen. Plan to start your prep about 30 minutes before you want to eat to allow for seasoning and warm-up time. The resting time for the patties is crucial for maintaining their juiciness, so don’t skip it!
Step-by-Step Instructions
1. Prepare the Patties: In a large mixing bowl, gently combine the ground beef, salt, black pepper, garlic powder, onion powder, and Worcestershire sauce. Avoid overmixing, as this can lead to tough burgers. Divide the mixture into 6-8 equal portions and shape them into patties, slightly wider than your buns, as they will shrink during cooking. Press a shallow indentation into the center of each patty; this prevents them from bulging in the middle during cooking. For a truly exceptional Cheeseburger experience, proper patty formation is key.
2. Preheat & Sear: Heat your grill or a large cast-iron skillet over medium-high heat. Add the vegetable oil to the skillet if using. Once hot, carefully place the patties onto the cooking surface.
3. Cook to Perfection: Cook for 3-4 minutes per side for medium-rare, 4-5 minutes for medium, and 5-6 minutes for well-done. Flip only once to ensure a beautiful crust. During the last minute of cooking, place a slice of cheese on top of each patty, allowing it to melt into gooey perfection. Achieving a juicy exterior and perfectly cooked interior is what sets a great Hamburger apart.
4. Toast Buns (Optional but Recommended): While the patties are cooking, lightly toast the burger buns face-down on the grill or in a separate pan for 1-2 minutes until golden. This adds texture and prevents the buns from getting soggy.
5. Rest & Assemble: Transfer the cooked patties to a plate and let them rest for 5 minutes. This allows the juices to redistribute, ensuring a tender and flavorful burger. Assemble your Cheeseburger by placing the patty on the bottom bun, adding your desired toppings, and crowning it with the top bun.
Nutritional Benefits & Advantages
Crafting your own Cheeseburger allows for significant control over its nutritional profile. Leaner ground beef can reduce fat content, while whole-wheat buns boost fiber. Beef is an excellent source of high-quality protein, essential for muscle repair and growth, as well as vital nutrients like iron, zinc, and B vitamins. Zinc supports immune function, and iron is crucial for energy and preventing anemia. Adding fresh vegetables like lettuce, tomatoes, and onions introduces vitamins, minerals, and antioxidants, turning a simple Hamburger into a more balanced meal that contributes to overall well-being.
Tips, Variations & Cooking Advice
- Flavor Boosts: Mix in finely chopped onions, jalapeños, or crumbled bacon into the ground beef for extra flavor and texture.
- Cheese Varieties: Experiment with different cheeses beyond the classic cheddar – blue cheese, Swiss, or ghost pepper jack for a spicy kick.
- Burger Sauce: Create your signature burger sauce with a blend of mayonnaise, ketchup, mustard, and a hint of pickle relish.
- Alternative Cooking Methods: If you don’t have a grill, a broiler or even an air fryer can produce good results, though the sear might vary.
- Dietary Adaptations: For a gluten-free option, use gluten-free buns or serve as a lettuce wrap. For dairy-free, omit the cheese or use a plant-based cheese alternative.
Common Mistakes to Avoid
- Overmixing the Meat: This is the most common mistake. Overworking the ground beef develops gluten, leading to dry and tough burgers. Mix just until combined.
- Not Seasoning Enough: Bland burgers are disappointing. Be generous with salt and pepper, and don’t shy away from other spices.
- Pressing Patties While Cooking: Never press down on your burgers with a spatula while they’re cooking. This squeezes out all the delicious juices, resulting in dry patties.
- Undercooking or Overcooking: Use a meat thermometer to ensure your burgers are cooked to your desired doneness and safe internal temperature.
- Cold Buns: Untoasted, cold buns don’t enhance the burger experience. Always warm or lightly toast your buns.
Storage & Meal Prep Tips
Leftover cooked burger patties can be stored in an airtight container in the refrigerator for 3-4 days. For longer storage, wrap individual patties tightly in plastic wrap and then foil, and freeze for up to 2-3 months. Reheat cooked patties gently in a skillet over low heat or in the oven to maintain moisture. Avoid microwaving if possible, as it can make them rubbery. For meal prep, you can form the patties ahead of time and store them raw in the refrigerator for up to 24 hours, separated by parchment paper to prevent sticking.
Conclusion
Mastering the homemade Cheeseburger is a rewarding culinary achievement that brings joy to any table. By following these detailed instructions and tips, you are now equipped to create a juicy, flavorful Hamburger that rivals any gourmet restaurant. The satisfaction of biting into a perfectly crafted burger, made with your own hands, is truly unparalleled. Don’t hesitate – gather your ingredients and embark on this delicious journey. Share your creations and tell us your favorite customizations in the comments below!
FAQs
Q1: What’s the best type of ground beef for burgers?
A1: An 80/20 lean-to-fat ratio is generally considered the best. The fat content ensures a juicy and flavorful burger.
Q2: How do I prevent my burgers from shrinking too much?
A2: Form your patties slightly wider than your buns and press a shallow indentation in the center. This helps maintain their shape during cooking.
Q3: Can I grill these burgers instead of using a skillet?
A3: Absolutely! Grilling imparts a wonderful smoky flavor. Preheat your grill to medium-high heat and follow the same cooking times.
Q4: What are some good vegetarian alternatives for this recipe?
A4: You can easily substitute the beef with a store-bought vegetarian burger patty or make your own black bean or mushroom-based burger.
Q5: How do I know when my burger is done?
A5: The most accurate way is to use a meat thermometer. For medium-rare, aim for 130-135°F (54-57°C); medium, 140-145°F (60-63°C); and well-done, 160°F (71°C) or higher.
Quick way to grow a perfect Cheeseburger plant
Ingredients
Equipment
Method
- Shape the ground beef into a patty and cook in a pan over medium heat for 4-5 minutes per side, or until desired doneness.
- While the patty cooks, toast the hamburger bun. Once the patty is cooked, place the cheese slice on top and let it melt slightly.
- Assemble your cheeseburger by placing the cheesy patty on the bottom bun. Layer with lettuce, tomato, onion, and pickles, then add ketchup and mustard before topping with the other half of the bun.