The Ultimate Guide to Making No-Churn Ice Cream at Home
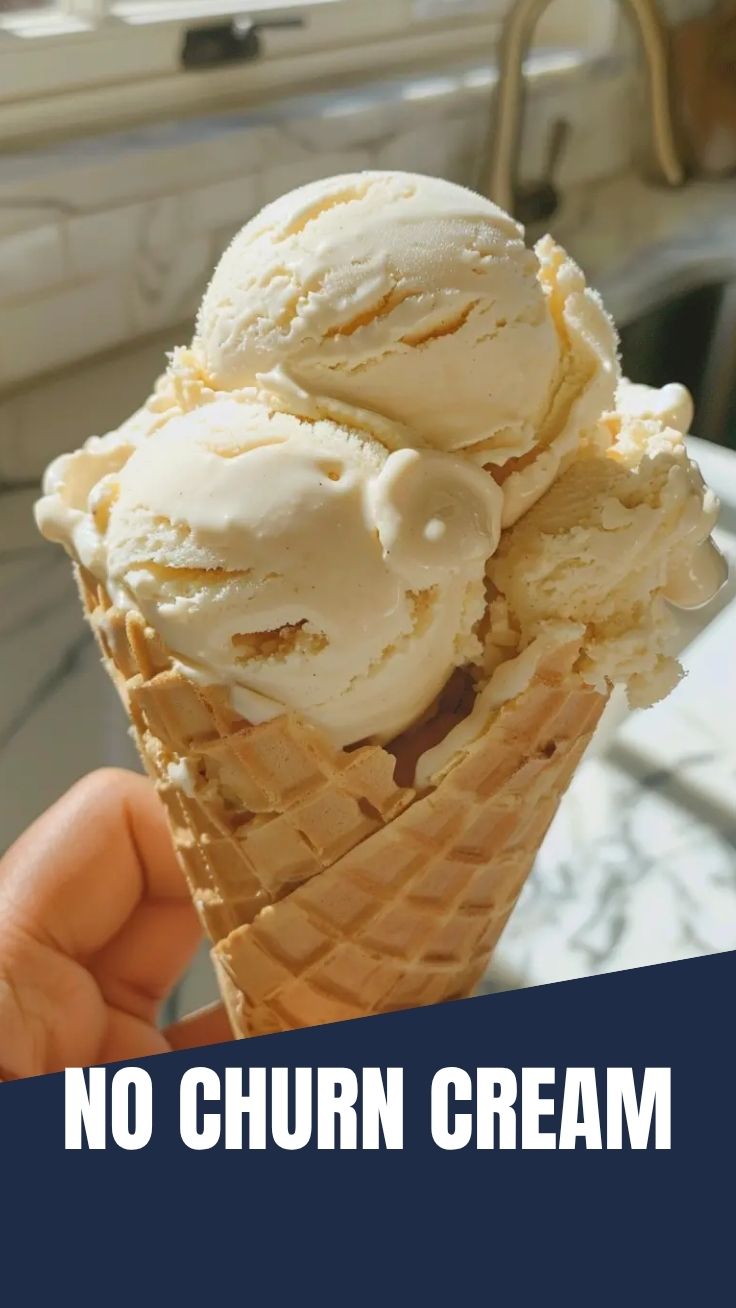
Have you ever craved a scoop of creamy, dreamy ice cream but realized you don’t own an ice cream maker? You’re not alone. The simple truth is that you don’t need expensive machinery or a culinary degree to create a luxurious frozen treat. With No-Churn Ice Cream, you can achieve a silky-smooth texture using just a whisk and a freezer. This method transforms a few pantry staples into a rich, custard-like dessert that rivals anything from the store, saving you money and allowing for endless flavor creativity. In this guide, we’ll explore the simplest method for homemade ice cream, proving why these are some of the best Easy Ice Cream Recipes you’ll ever try.
Ingredients & Kitchen Tools
Essential ingredients for the base recipe (yields about 1 quart):
– 2 cups (480 ml) heavy whipping cream: Must be very cold; minimum 36% fat content for proper texture and overrun.
– 1 can (14 oz/397 g) sweetened condensed milk: Full-fat version provides structure and sweetness; no sugar needed.
– 1 teaspoon pure vanilla extract: Enhances flavor and masks any “freezer burn” notes.
– Pinch of fine sea salt: Balances sweetness and lowers the freezing point slightly.
Optional flavor mix-ins: cocoa powder (3 tbsp), crushed cookies, fruit puree, or nut butters.
Required tools:
– Large mixing bowl (preferably metal or glass, chilled)
– Electric hand mixer or stand mixer with whisk attachment
– 9×5-inch loaf pan or airtight container (for freezing)
– Rubber spatula
– Parchment paper (for easy removal)
Prep Time & Cooking Schedule
– Active prep time: 15–20 minutes (whipping cream + folding)
– Freezing time: Minimum 6 hours, ideally 8–12 hours for scoopable texture
– Quick chill tip: Place your mixing bowl and cream in the freezer for 10 minutes before whipping to achieve stiff peaks faster. Plan to make this in the morning for an evening dessert.
Step-by-Step Instructions
1. Prepare the condensed milk base: In a large bowl, stir together the sweetened condensed milk, vanilla extract, and salt until smooth. If adding dry ingredients like cocoa powder or instant coffee, whisk them into this mixture now to ensure no lumps.
2. Whip the heavy cream: Using an electric mixer on medium-high speed, whip the cold heavy cream until stiff peaks form. This takes about 3–4 minutes. Key tip: Stop immediately when peaks stand upright but the cream still looks glossy; over-whipping can cause butter separation, ruining the texture for your No-Churn Ice Cream.
3. Fold and combine: Add one-third of the whipped cream to the condensed milk mixture. Gently fold using a rubber spatula until just combined, scraping from the bottom. Add the remaining cream in two batches, folding slowly. The mixture should be thick, airy, and homogenous. For most Easy Ice Cream Recipes, this gentle folding is the most critical step to prevent deflation.
4. Add mix-ins: If using solid additions (cookies, nuts, fruit), fold them in at this point. For a swirl effect, layer the mixture with sauce in the pan, then use a knife to gently marble.
5. Transfer and freeze: Pour or spoon the mixture into your prepared loaf pan lined with parchment. Smooth the top. Press a piece of plastic wrap directly onto the surface to prevent ice crystals.
6. Freeze: Place in the freezer for at least 6 hours. For best texture, let it freeze undisturbed for 8 hours. Before scooping, let the pan sit at room temperature for 5 minutes to soften slightly.
Nutritional Benefits & Advantages
This no-churn method offers distinct advantages. The high-fat content from heavy cream (about 11g fat per 1/2 cup serving) provides satiety and helps absorb fat-soluble vitamins A, D, E, and K. Because you skip the egg custard process, this recipe is naturally lower in cholesterol than traditional French-style ice cream. Additionally, by making it yourself, you control sugar levels—swapping in reduced-fat condensed milk or coconut milk can cut calories significantly without sacrificing creaminess. Homemade versions also avoid artificial stabilizers and emulsifiers often found in commercial brands.
Tips, Variations & Cooking Advice
– Flavor variations: Replace vanilla with 2 tablespoons of instant espresso powder dissolved in 1 tablespoon warm water for coffee flavor. For chocolate, sift 1/2 cup cocoa powder into the condensed milk.
– Dietary adaptations: For a dairy-free version, use full-fat coconut cream instead of heavy cream and a dairy-free sweetened condensed milk alternative. Note: texture will be slightly icier.
– Alcohol addition: Add 1–2 tablespoons of bourbon, rum, or liqueur to lower the freezing point, resulting in a softer, more scoopable texture.
– Texture improvement: For smoother results, ensure your condensed milk is at room temperature when mixing to avoid seizing.
Common Mistakes to Avoid
– Under-whipping the cream: If cream is too soft, the ice cream will be dense and icy. It must hold stiff peaks.
– Over-mixing after folding: Aggressive mixing collapses air pockets. Use slow, gentle folds.
– Skipping the salt: Even a small pinch is crucial; salt enhances flavor and prevents the ice cream from freezing into a solid block.
– Storing with air exposure: Always press plastic wrap directly onto the surface. Air contact creates large ice crystals.
– Freezing too quickly: Place the pan on a level shelf, not near the freezer door. Temperature fluctuations cause graininess.
Storage & Meal Prep Tips
Homemade no-churn ice cream keeps best for up to 2 weeks when stored properly. After the initial 8-hour freeze, transfer any leftovers to an airtight container, pressing a sheet of wax paper over the surface before sealing. To serve, let it sit at room temperature for 10–15 minutes. Never microwave to soften, as this melts unevenly. For pre-portioning, scoop into silicone molds or ice cube trays before freezing for individual servings.
Conclusion
Making ice cream at home is not only achievable but also incredibly rewarding. This No-Churn Ice Cream method proves that you can create a premium frozen dessert with minimal effort and maximum flavor. With four simple ingredients and 20 minutes of active time, you have a base that opens the door to countless variations. These truly are Easy Ice Cream Recipes that anyone can master, regardless of kitchen experience. I encourage you to try this recipe this weekend, experiment with your favorite mix-ins, and share your results. For more creative frozen treats, check out our collection of quick dessert solutions.
FAQs
Q: Can I use half-and-half instead of heavy cream?
No, half-and-half lacks enough fat (18% vs 36%) to whip into stiff peaks. Substituting will result in a thin, icy mixture.
Q: Why is my no-churn ice cream rock hard?
This happens if it freezes longer than 24 hours or if the freezer is very cold. Let it sit at room temperature for 10–15 minutes before scooping.
Q: Can I use honey or maple syrup instead of sweetened condensed milk?
Not as a direct substitute. Sweetened condensed milk provides both sugar and concentrated milk proteins. Using liquid sweeteners changes the water-to-fat ratio, leading to ice crystals.
Q: How can I make this without an electric mixer?
You can whisk the cream by hand using a balloon whisk, but this takes 8–10 minutes of vigorous effort. A chilled bowl speeds the process.
Q: Is this recipe safe for raw egg consumption?
Yes, this recipe is egg-free, so there is no risk of salmonella. It’s ideal for children, pregnant women, and those with compromised immune systems.
Quick way to grow your No-Churn Ice Cream in 3 flavors.
Ingredients
Equipment
Method
- Whip the heavy cream in a large bowl on medium-high speed until stiff peaks form.
- In a separate bowl, combine the sweetened condensed milk and vanilla extract.
- Gently fold the condensed milk mixture into the whipped cream until just combined, being careful not to deflate the cream.
- Divide the basic ice cream base evenly into three separate bowls.
- For chocolate ice cream, fold in cocoa powder and chocolate chips into one portion.
- For strawberry ice cream, gently mix in chopped strawberries and sugar into another portion.
- For cookies and cream ice cream, fold in crushed Oreo cookies into the final portion.
- Transfer each flavored mixture into individual freezer-safe containers.
- Freeze for at least 6 hours, or overnight, until firm.