The Ultimate White Chicken Chili: A Hearty, Spicy Comfort Food Classic
Are you tired of bland, watery chili that leaves you feeling unsatisfied? Imagine coming home on a chilly evening to a steaming bowl of white chicken chili that’s creamy, aromatic, and packed with layers of flavor. Making this recipe at home is not only cost-effective but also allows you to control every ingredient—ensuring a healthier, more personalized dish than any canned version. This white chicken chili balances subtle heat with rich textures, making it a family favorite. Let’s dive into why this homemade version beats takeout every time.
Ingredients & Kitchen Tools
For the Chili:
– Chicken breast or thighs (1.5 lbs): Boneless, skinless for easy shredding. Thighs add more moisture.
– Great Northern beans (2 cans, drained): Creamy texture; can substitute cannellini or navy beans.
– Green chiles (2 cans, 4 oz each): Mild heat; choose fire-roasted for deeper flavor.
– Chicken broth (4 cups): Low-sodium preferred to control salt.
– Onion (1 medium, diced): Yellow or sweet onion works best.
– Garlic (4 cloves, minced): Fresh is non-negotiable for robust flavor.
– Ground cumin (2 tsp) & dried oregano (1 tsp): Essential warm spices.
– Heavy cream (½ cup) or cream cheese (4 oz): For richness; use coconut cream for dairy-free.
– Lime juice (2 tbsp): Brightens all flavors.
Spicy boost: _Jalapeño (1, seeded and minced) or cayenne (½ tsp)._
Kitchen Tools:
– Large Dutch oven or heavy-bottomed pot
– Immersion blender (optional for creaminess)
– Chef’s knife, cutting board, wooden spoon
– Measuring spoons and cups
_Optional substitutions:_ Turkey for chicken, vegetable broth for chicken broth, or add corn for sweetness.
Prep Time & Cooking Schedule
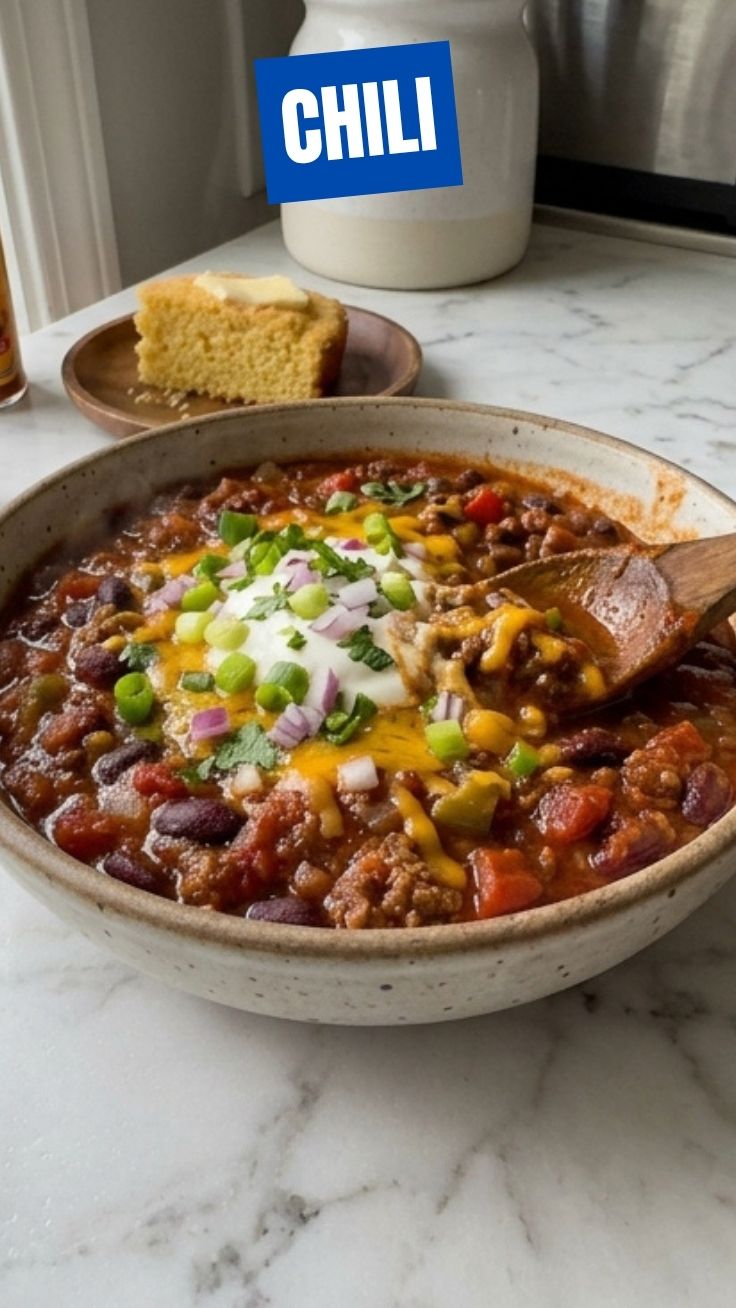
– Prep time: 15 minutes (dice onion, mince garlic, chop jalapeño)
– Cook time: 45–50 minutes total
– Active cooking: 25 minutes (sautéing, simmering)
– Resting time: 10 minutes after cooking (flavors meld beautifully)
_Plan ahead:_ This chili tastes even better the next day, so making it a day ahead is ideal. The resting time allows beans and chicken to absorb all spices.
Step-by-Step Instructions
1. Sauté aromatics: Heat 2 tbsp olive oil in your Dutch oven over medium heat. Add diced onion and cook 4–5 minutes until translucent. Add garlic and jalapeño (if using) and cook 1 minute more. _Tip: Don’t brown garlic—it becomes bitter._
2. Bloom spices: Stir in cumin and oregano, cook 30 seconds until fragrant. _Temp control: Keep heat medium—low to avoid burning._
3. Build liquid base: Pour in chicken broth and green chiles (with juice). Bring to a gentle simmer. _Texture cue: Bubbles should break the surface but not aggressively._
4. Cook chicken: Add chicken breasts whole. Simmer 20–25 minutes or until internal temperature reaches 165°F. _Seasoning hint: Add ½ tsp salt and ¼ tsp black pepper now._
5. Shred and combine: Remove chicken, shred with two forks, and return to pot. _Flavor tip: Stir shredded chicken back with any collected juices._
6. Finish with cream: Reduce heat to low. Stir in heavy cream (or cream cheese cut into cubes) and lime juice. Simmer 5 minutes—do not boil. _Texture cue: Chili should thicken slightly; if too thick, add extra broth._
7. Blend for creaminess: Optional: Use immersion blender for 2–3 seconds—just enough to break down some beans without pureeing fully. This white chicken chili becomes luxuriously creamy without extra dairy.
8. Final adjustments: Taste and add salt, pepper, or more lime. For heat seekers, stir in ¼ tsp cayenne for a truly spicy kick. _Note: Heat builds as chili sits._
Nutritional Benefits & Advantages
– High protein (35g per serving): Chicken and beans provide muscle-repairing amino acids.
– Fiber-rich (12g per bowl): Great Northern beans support digestion and satiety.
– Low fat (12g total): Using lean chicken and light cream keeps it figure-friendly.
– Vitamin C boost: Green chiles and lime juice strengthen immunity.
– Customizable diet: Easily gluten-free and can be dairy-free with coconut cream.
_Advantage over store-bought:_ No preservatives, MSG, or hidden sodium—you control every nutrient.
Tips Variations & Cooking Advice
– Smoky flavor: Add 1 tsp smoked paprika and use fire-roasted green chiles.
– Creamy without dairy: Blend ½ cup soaked cashews with broth; stir in at the end.
– Vegetarian swap: Use 2 cans chickpeas + 1 can jackfruit (shredded) instead of chicken.
– Slow cooker method: Sauté aromatics first, then combine all except cream/lime. Cook on low 6 hours, shred chicken, stir in cream last 30 minutes.
– Portion change: Double batch freezes beautifully—freeze in 2-cup containers.
_Pro tip for heat lovers:_ Add a whole dried chipotle pepper during simmering, remove before serving. This spicy variation delivers complex smokiness.
Common Mistakes to Avoid
– Overcooking chicken: Internal temp above 170°F makes it dry. Shred as soon as it reaches 165°F.
– Boiling cream: High heat curdles dairy. Always add cream on low heat.
– Underseasoning beans: Beans absorb salt; season broth moderately at the start, adjust at the end.
– Skipping bloom step: Dumping spices into liquid without toasting loses flavor depth.
– Overblending: A fully pureed chili loses texture. Two-second pulses are enough.
Storage & Meal Prep Tips
– Refrigeration: Cool completely, store in airtight container up to 5 days.
– Freezing: Portion into freezer bags (squeeze out air) for up to 3 months.
– Reheating: Thaw overnight in fridge. Reheat on stovetop over medium-low, adding a splash of broth if thickened. Microwave in 1-minute bursts, stirring between.
– Texture preservation: Freeze chili before adding cream—add fresh cream when reheating for best consistency.
Conclusion
This white chicken chili delivers restaurant-quality flavor with minimal effort. From the aromatic base of cumin and garlic to the creamy finish with a spicy kick, every spoonful warms the soul. You now have a foolproof recipe that’s endlessly customizable, nutrient-dense, and perfect for meal prep. We’d love to hear how your version turned out—share your photos or tag us with your best variations. Ready to explore more bold chili recipes? Check our guide to smoky beef chili next.
FAQs
1. Can I use leftover rotisserie chicken?
Absolutely! Add shredded chicken after the broth simmers for 10 minutes (just to warm through). Adjust cooking time—no need to cook raw chicken.
2. My chili is too thin. How do I thicken it?
Mash 1 cup of beans with a fork and stir back in, or simmer uncovered for 10–15 minutes. A cornstarch slurry (1 tbsp cornstarch + 2 tbsp cold water) works too.
3. Is this chili gluten-free?
Yes, as written. Ensure your chicken broth and green chiles are certified gluten-free (some brands add thickeners).
4. How can I make it less spicy for kids?
Skip jalapeño and cayenne entirely. Use mild green chiles (labeled “mild”). Serve with sour cream or extra cheese to cool the palate.
5. Can I prep ingredients ahead?
Yes! Dice onion and mince garlic up to 2 days ahead. Drain and rinse beans. Store separately. Combine and cook day of serving for freshest flavor.
Quick way to grow 5 Chili plants easily
Ingredients
Equipment
Method
- Fill five 6-inch pots with seed starting mix, leaving about an inch from the rim.
- Plant 2-3 chili seeds in the center of each pot, burying them about 1/4 inch deep.
- Water the pots thoroughly until the soil is moist but not waterlogged.
- Place the pots in a warm spot with plenty of sunlight or under a grow light.
- Maintain consistent moisture in the soil, watering when the top inch feels dry.
- Once seedlings emerge (typically 7-14 days), thin to the strongest plant per pot.
- After 4-6 weeks, when seedlings have developed a few true leaves, they are ready for transplanting if desired.
- If keeping in pots, continue to water regularly and consider adding a balanced liquid fertilizer every 2-4 weeks.