The Ultimate No Bake Cheesecake: A Foolproof, Creamy Dessert That Requires Zero Oven Time
Have you ever craved a rich, velvety cheesecake but dreaded the thought of turning on the oven, dealing with water baths, or worrying about cracks? You’re not alone. The beauty of a No Bake Cheesecake is that it delivers all the tangy, luxurious flavor of a classic cheesecake without any baking anxiety. By preparing this dessert at home, you gain total control over the ingredients—avoiding preservatives and excess sugar—while saving time and energy. Whether you’re a novice baker or a seasoned pro, this recipe transforms simple ingredients into a show-stopping dessert that sets perfectly in the refrigerator. And if you’re looking for a quick fix, this is an Easy Cheesecake that anyone can master on the first try.
—
Ingredients & Kitchen Tools
Ingredients
– 2 cups (240g) graham cracker crumbs – Provides the classic buttery crust base. Substitute with crushed digestive biscuits or gluten-free crackers.
– 1/2 cup (115g) unsalted butter, melted – Binds the crust together. Use vegan butter for dairy-free.
– 1/4 cup (50g) granulated sugar – Adds sweetness to the crust. Swap with coconut sugar for a lower glycemic option.
– 16 oz (450g) full-fat cream cheese, softened – The heart of the filling for richness and stability. Neufchâtel cheese works for lower fat.
– 1 cup (240ml) heavy whipping cream – Adds airy lightness. Use chilled canned coconut cream for dairy-free.
– 1/2 cup (100g) powdered sugar – Dissolves easily for a smooth texture.
– 1 teaspoon vanilla extract – Enhances flavor depth.
– 1 tablespoon fresh lemon juice – Brightens the tang and helps set the filling.
Kitchen Tools
– 9-inch springform pan
– Mixing bowls (medium and large)
– Electric hand mixer or stand mixer
– Rubber spatula
– Measuring cups and spoons
– Plastic wrap (for chilling)
—
Prep Time & Cooking Schedule
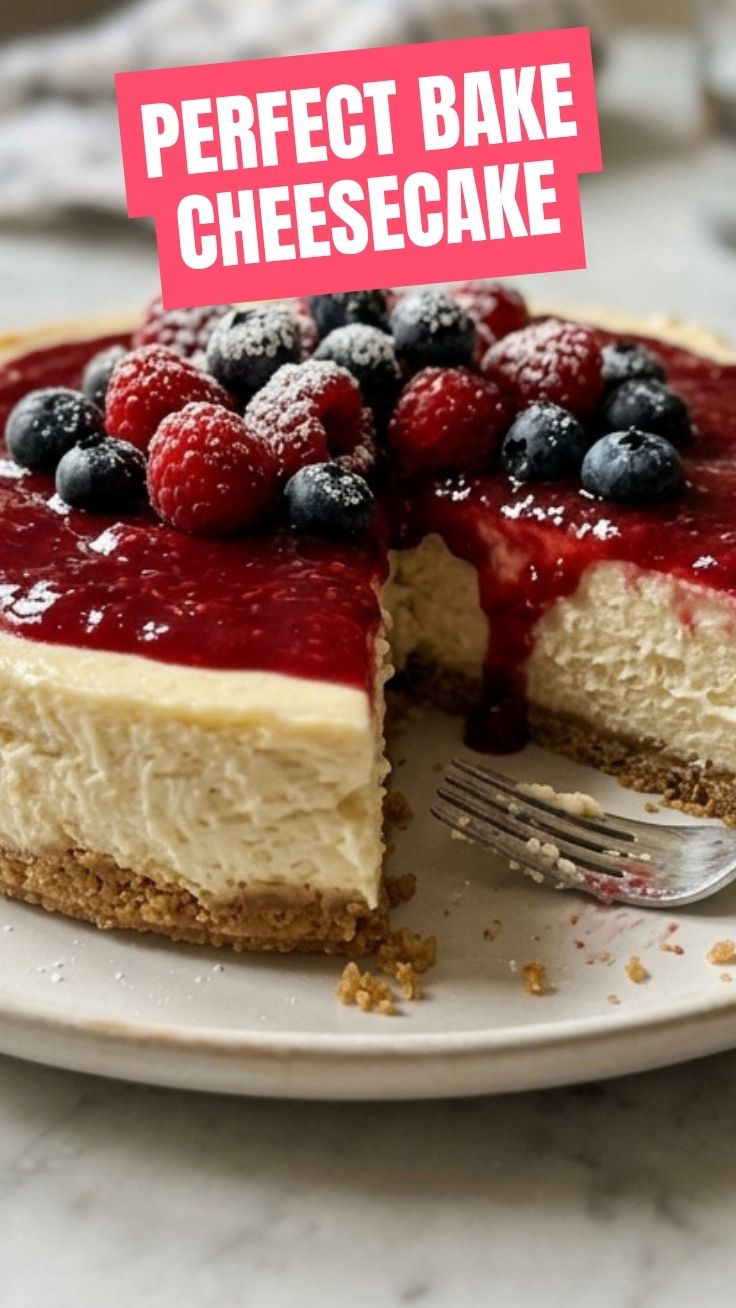
– Prep Time: 20 minutes
– Chill Time: Minimum 6 hours (overnight is best for a clean slice)
– Total Time: 6 hours 20 minutes to 8 hours
Context: The active work is under 30 minutes, but the crucial setting period requires patience. Plan to make this the night before or early morning for an evening dessert. The longer it chills, the firmer and cleaner your slices will be.
—
Step-by-Step Instructions
1. Prepare the crust: In a medium bowl, combine graham cracker crumbs, melted butter, and sugar. Mix until the texture resembles wet sand. Press firmly into the bottom of a 9-inch springform pan using the bottom of a glass. Ensure even compaction—this prevents crumbling later. Refrigerate while you make the filling.
2. Whip the cream: In a large chilled bowl, beat heavy whipping cream with an electric mixer on medium-high until stiff peaks form (about 3–4 minutes). Set aside. Temperature cue: If the cream isn’t cold enough, it won’t whip properly. Chill your bowl and beaters for 10 minutes beforehand.
3. Cream the base: In a separate large bowl, beat softened cream cheese with powdered sugar, vanilla extract, and lemon juice until smooth and lump-free—about 2 minutes on medium speed. Scrape the sides and beat for 30 more seconds. Texture check: The mixture should be silky and spreadable, not grainy. If lumpy, it means the cream cheese wasn’t soft enough.
4. Fold gently: Using a rubber spatula, fold the whipped cream into the cream cheese mixture in three additions. Use a gentle, sweeping motion to maintain airiness. Overmixing will deflate the batter and create a dense, heavy cheesecake.
5. Assemble and chill: Pour the filling onto the prepared crust, spreading evenly with a spatula. Cover with plastic wrap and refrigerate for at least 6 hours or overnight. This No Bake Cheesecake relies on the cream cheese stabilizing with cold, so don’t rush this step. For an Easy Cheesecake variation, you can stir in 1/2 cup of fruit puree or melted chocolate before chilling.
6. Unmold and serve: Once fully set, run a thin knife around the edge before releasing the springform. Slice with a hot, dry knife for clean cuts.
—
Nutritional Benefits & Advantages
– Cream cheese provides calcium and vitamin A, supporting bone and eye health.
– Heavy whipping cream contains healthy fats that promote satiety and assist in fat-soluble vitamin absorption.
– Lemon juice adds immune-boosting vitamin C.
– No oven required means less energy consumption—an eco-friendly advantage.
– Customizable for low-carb diets by substituting almond flour crust and using a sugar substitute.
—
Tips, Variations & Cooking Advice
– Flavor swaps: Add 1 tablespoon of instant espresso powder for a mocha twist, or fold in 1/2 cup of crushed fresh berries for a fruity burst.
– Dietary adaptations: Use dairy-free cream cheese and coconut cream for a vegan No Bake Cheesecake. For gluten-free, swap graham crackers with certified GF cookie crumbs.
– Portion control: Make individual cheesecake cups in small jars for single servings—perfect for parties.
– Texture trick: For an ultra-smooth filling, run the cream cheese through a fine-mesh sieve before mixing.
– Stability boost: Add 1 teaspoon of unflavored gelatin dissolved in 2 tablespoons of warm water to help the filling set faster in humid environments.
—
Common Mistakes to Avoid
| Mistake | Solution |
|———|———-|
| Crust crumbles when slicing | Press crust very firmly; chill for minimum 15 minutes before adding filling. |
| Filling is runny after 6 hours | Cream cheese must be fully softened; whip cream to stiff peaks; chill at least 8 hours. |
| Cheesecake tastes too dense | Did you overmix the whipped cream? Fold gently and stop as soon as combined. |
| Lemon flavor is too sharp | Reduce lemon juice to 2 teaspoons; balance with 1/4 teaspoon salt. |
| Cracked surface | This is rare in no-bake versions, but avoid touching the top during chilling. |
—
Storage & Meal Prep Tips
– Refrigeration: Store leftover cheesecake in the springform pan or an airtight container for up to 5 days. Cover tightly with plastic wrap to prevent absorbing fridge odors.
– Freezing: For longer storage, wrap the entire cheesecake (or individual slices) in plastic wrap, then foil. Freeze for up to 3 months. Thaw overnight in the refrigerator before serving.
– Reheating: No need to reheat—serve cold. If you prefer a softer texture, let it sit at room temperature for 10 minutes before slicing.
– Meal prep: Make the crust up to 3 days ahead and store it in the pan. Prepare the filling the day before serving for maximum convenience.
—
Conclusion
Creating a creamy, decadent dessert has never been simpler than with this No Bake Cheesecake. By following these steps, you avoid the risks of baking while still delivering a restaurant-quality treat that delights every palate. The silky filling and buttery crust are proof that an Easy Cheesecake can be both indulgent and effortless. I encourage you to try this recipe this weekend—experiment with toppings like fresh berries, caramel drizzle, or chocolate shavings. Share your results in the comments or tag me in your photos. For more no-fail desserts, check out our related vanilla panna cotta or lemon mousse recipes.
—
FAQs
1. Can I use low-fat cream cheese?
Yes, but the filling will be less firm and may be slightly less creamy. Full-fat yields the best texture. If using low-fat, add 1 teaspoon of cornstarch to stabilize.
2. How do I fix a crust that falls apart?
Add more melted butter, one tablespoon at a time, until the crumbs hold together when pressed. Also, ensure you press firmly using a flat-bottomed glass.
3. Can I speed up the chilling process?
Place the cheesecake in the freezer for 2 hours to set faster, but watch closely—over-freezing can create ice crystals. Return to the fridge afterward.
4. Why is my filling grainy?
Graininess occurs when cream cheese isn’t fully softened or when powdered sugar has lumps. Always bring cream cheese to room temperature for 30 minutes and sift powdered sugar.
5. Can I make this without a springform pan?
Absolutely. Use a deep pie dish or a 9×9-inch square pan. For easier removal, line the dish with parchment paper overhang.
No Bake Cheesecake
Ingredients
Equipment
Method
- Combine graham cracker crumbs and melted butter in a bowl, then press the mixture into the bottom of a 9-inch pie plate to form the crust.
- In a separate bowl, beat the softened cream cheese and granulated sugar together until the mixture is smooth and creamy.
- In another bowl, whip the heavy cream until stiff peaks form, then gently fold the whipped cream and vanilla extract into the cream cheese mixture until fully combined.
- Pour the cheesecake filling over the prepared graham cracker crust, ensuring it is evenly spread.
- Refrigerate the cheesecake for at least 4 hours, or preferably overnight, to allow it to set completely before serving.