The Ultimate Guide to Perfecting Aglio e Olio at Home
Have you ever craved a dish that’s both incredibly simple and bursting with flavor? Welcome to the world of Aglio e Olio, a classic Italian pasta dish that proves less is more. This is one of those Pasta Recipes that every home cook should master – it’s quick, uses pantry staples, and delivers restaurant-quality results at home. Whether you’re a busy weeknight warrior or a weekend cooking enthusiast, learning to make this garlicky, olive oil‑drenched masterpiece will transform your kitchen confidence. Plus, because it relies on just a handful of ingredients, you’ll save money and avoid processed sauces. Ready to unlock the secrets?
—
Ingredients & Kitchen Tools
For the Dish
– 320g spaghetti or linguine – Traditional semolina pasta works best; gluten‑free alternatives also hold up well.
– 6–8 large garlic cloves, thinly sliced – Avoid pre‑minced; fresh slicing ensures controlled browning.
– ½ cup extra‑virgin olive oil – The star ingredient; use a good‑quality bottle for fruity, peppery notes.
– ½–1 teaspoon red pepper flakes – Adjust to your heat tolerance; Calabrian chili flakes add unique depth.
– ¼ cup fresh parsley, finely chopped – Flat‑leaf parsley preferred; adds freshness and color.
– Salt for pasta water – Use sea salt or kosher; it seasons the pasta from within.
– Optional: 2 tablespoons unsalted butter – Adds richness and silkiness without overpowering garlic.
Kitchen Tools
– Large pot (5–6 quarts) for boiling pasta
– Heavy‑bottomed skillet or sauté pan (12‑inch) – Ensures even heat for garlic infusion
– Colander
– Chef’s knife & cutting board
– Microplane or zester (if adding lemon zest variation)
– Tongs for tossing pasta
Substitutions: Swap parsley for basil or chives; use gluten‑free pasta; replace pepper flakes with fresh minced chili.
—
Prep Time & Cooking Schedule
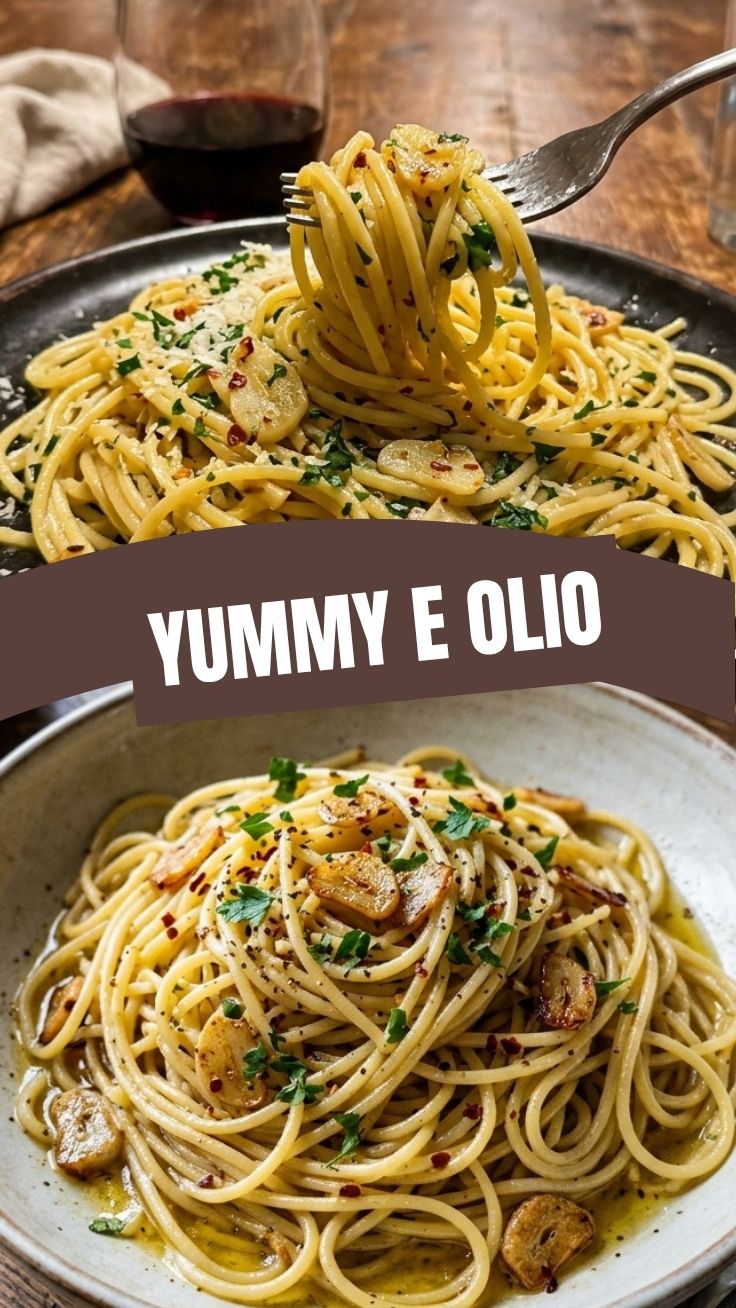
– Prep time: 10 minutes (mince garlic, chop parsley, measure oil)
– Cook time: 20 minutes (including pasta boiling)
– Total time: 30 minutes
– Resting time: 2–3 minutes before serving (allows flavors to meld)
Plan your timeline: Start boiling water first. While pasta cooks, prepare the garlic and oil. This overlapping approach ensures everything finishes together.
—
Step-by-Step Instructions
1. Salt your pasta water generously – Use about 1 tablespoon of salt per 4 quarts of water. Bring to a rolling boil. Add pasta and cook 1 minute less than package directions (it will finish cooking in the sauce).
2. While pasta cooks, heat olive oil in the skillet over medium‑low heat. Add sliced garlic and red pepper flakes. Stir constantly for 2–3 minutes until garlic is pale golden and fragrant. Do not brown – burnt garlic turns bitter and ruins your Aglio e Olio. Remember, unlike many Pasta Recipes that rely on heavy cream or tomato, this dish depends entirely on perfectly toasted garlic.
3. Reserve 1 cup of pasta cooking water before draining. Drain pasta.
4. Add the drained pasta directly to the skillet with the garlic oil. Toss with tongs, adding pasta water a splash at a time until you achieve a silky, lightly coated consistency (about ¼–⅓ cup).
5. Remove from heat. Stir in fresh parsley and optional butter. Taste and adjust salt – the pasta water and cheese (if using) will add salinity.
6. Serve immediately in warm bowls. Garnish with extra parsley and a drizzle of finishing olive oil.
—
Nutritional Benefits & Advantages
– Garlic contains allicin, known for immune‑boosting and anti‑inflammatory properties.
– Extra‑virgin olive oil provides heart‑healthy monounsaturated fats and antioxidants.
– Red pepper flakes may boost metabolism and aid digestion.
– This dish is naturally vegan (skip butter) and dairy‑free, making it suitable for many dietary preferences.
– At around 400–500 calories per serving, it’s a satisfying yet balanced meal when paired with a side salad.
—
Tips, Variations & Cooking Advice
– Level up with protein: Add sautéed shrimp, grilled chicken, or white beans.
– Herb swaps: Basil, oregano, or thyme all work beautifully.
– Lemon zest: Grate zest over the finished dish for brightness.
– Make it whole‑grain: Use whole‑wheat pasta; increase oil slightly for moisture.
– Spice control: For a milder version, remove seeds from fresh chili or use only a pinch of flakes.
– Gluten‑free options: Brown rice or chickpea pasta hold texture well; cook al dente.
– Portion adjustment: Double the recipe easily – just use a larger skillet.
—
Common Mistakes to Avoid
| Mistake | Solution |
|———|———-|
| Burning the garlic | Keep heat at medium‑low and stir constantly; remove pan from heat if it browns too fast. |
| Undersalting pasta water | Water should taste like sea water – it seasons the pasta internally. |
| Using too much pasta water | Add gradually; the sauce should cling, not pool. |
| Skipping the reserved water | The starchy water emulsifies the oil and garlic into a cohesive sauce. |
| Overcooking pasta | Cook to al dente (firm bite) – it will continue cooking in the hot oil. |
—
Storage & Meal Prep Tips
– Refrigeration: Store in an airtight container for up to 3 days. The pasta may absorb oil, so add a drizzle of olive oil when reheating.
– Freezing: Not recommended – texture degrades. If necessary, freeze without parsley for up to 1 month. Thaw overnight and reheat with a splash of water.
– Reheating: Use a skillet over medium heat with 1–2 tablespoons water or pasta water. Toss until heated through (about 3 minutes). Avoid microwave – it makes pasta rubbery.
– Meal prep: Cook pasta, make garlic oil separately, and combine just before serving to maintain texture.
—
Conclusion
Mastering this Aglio e Olio recipe will elevate your confidence in the kitchen and prove that simplicity leads to extraordinary flavor. Whether you’re exploring new Pasta Recipes or sticking to Italian classics, this dish delivers every time. Try it tonight, share your results with friends, and don’t forget to experiment with the variations above. The perfect garlic‑infused, chili‑kissed bowl of comfort is just 30 minutes away.
—
FAQs
1. Can I use pre‑minced garlic?
Freshly sliced garlic is essential – pre‑minced often has a metallic taste and burns unevenly. Stick with whole cloves you slice yourself.
2. Why does my Aglio e Olio turn out greasy?
You likely didn’t add enough pasta water. Emulsify by tossing vigorously with starchy water until the oil coats each strand, not pools at the bottom.
3. What if I don’t have red pepper flakes?
Use a pinch of cayenne, a finely chopped fresh chili, or skip the heat entirely – the garlic and oil are still wonderful.
4. Can I make this dairy‑free?
Yes – it’s naturally dairy‑free. Just omit the optional butter and use only olive oil.
5. How do I prevent the garlic from burning?
Keep the skillet over medium‑low heat and remove it from the stove as soon as the garlic turns light gold. Residual heat will continue cooking it.
6. What’s the best pasta shape for this recipe?
Spaghetti or linguine are classic because their long strands trap the oil well. Angel hair (capellini) works too but cooks faster – adjust timing.
Quick way to grow your Aglio e Olio in 5 steps
Ingredients
Equipment
Method
- To grow garlic, plant individual cloves from a whole garlic bulb directly into well-drained soil, about 2 inches deep and 4-6 inches apart, with the pointed end facing up.
- For parsley, sow seeds directly into the soil, approximately 1/4 inch deep and 6-8 inches apart, as parsley seeds can be slow to germinate.
- Place both garlic and parsley in a location that receives at least 6-8 hours of direct sunlight daily for optimal growth.
- Maintain consistent soil moisture for both plants, watering regularly to keep the soil damp but not waterlogged.
- Garlic typically takes 8-9 months to mature, while parsley can be harvested in 70-90 days, with continuous harvesting encouraging further growth.